This is an operation instruction on how to use OBDEMOTO 900PRO Key Programmer for motorcycles. Content includes connection, function, anti-theft matching, system setting and version information.
How to connect OBDEMOTO 900PRO?
Please follow the steps in "Instructions for connecting to vehicle" to connect the 900PRO diagnostic scanner to the motorcycle.
Function Options
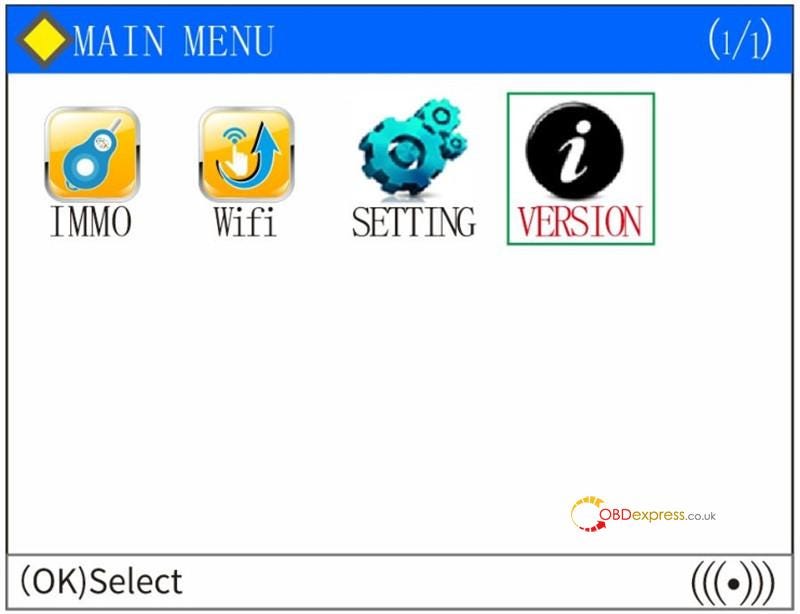
When the motorcycle ignition switch is turned on (the flameout switch also needs to be turned on for the model with flameout switch) and the OBDEMOTO 900PRO diagnostic scanner is powered on, the following interface will appear. As the screenshot shown below:
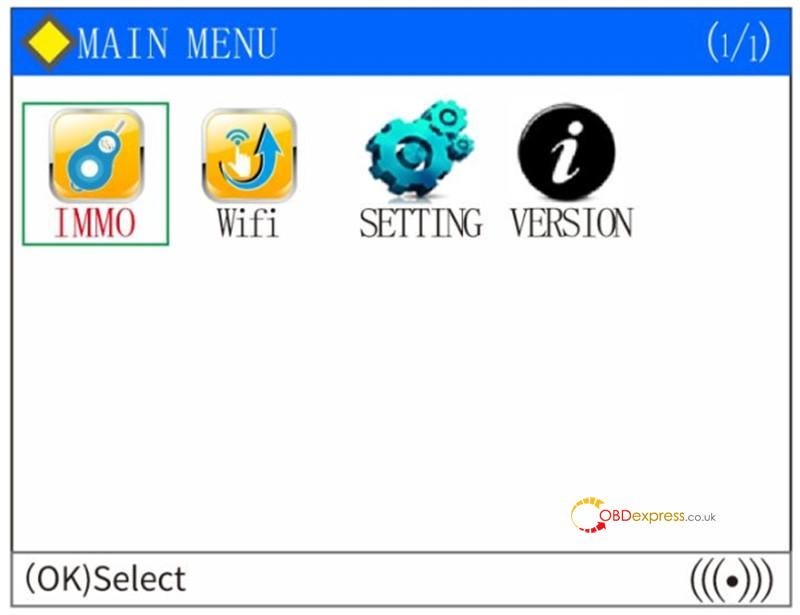
Anti-theft: Key matching of motorcycle anti-theft function, including 46 chip, 4D chip and 8A anti-theft system.
One-click Upgrade: Connect WIFI to the company server and update data.
System Setup: Set language, buzzer and scanner module check.
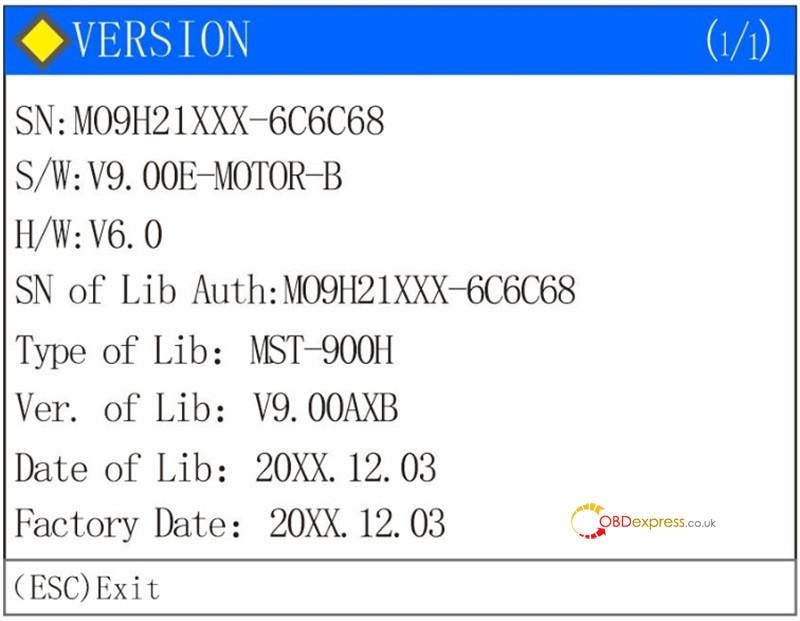
Version Information: Display the serial number, software version, hardware version, MFG and other information.
How to do Anti-Theft Matching?
Select "Anti-theft", press the [OK] button, read the disclaimer, and press the [OK] button to proceed to the next step. As the screenshot shown below:
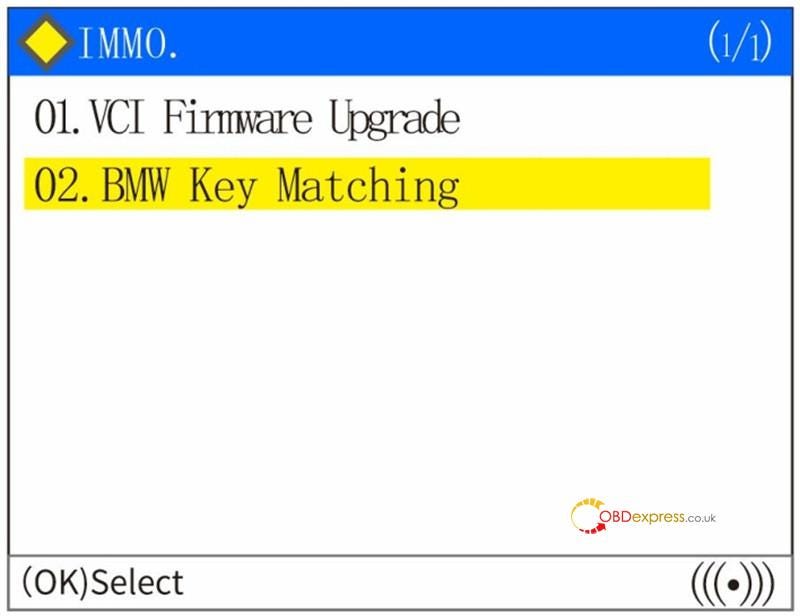
Select "02 BMW Key Match". The following screen appears. You can select the type of the tested system, such as the system type of Mechanical Key 4D, Keyless Start 8A or Mechanical Key 46 chip. As the screenshot shown below:
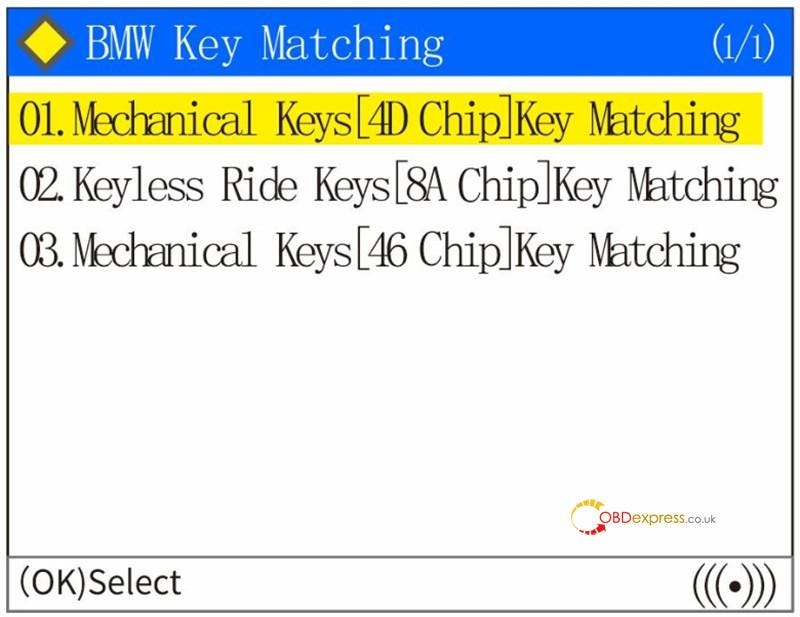
Select the corresponding system menu according to the type of anti-theft key, and execute according to the operation prompts of the diagnostic scanner.
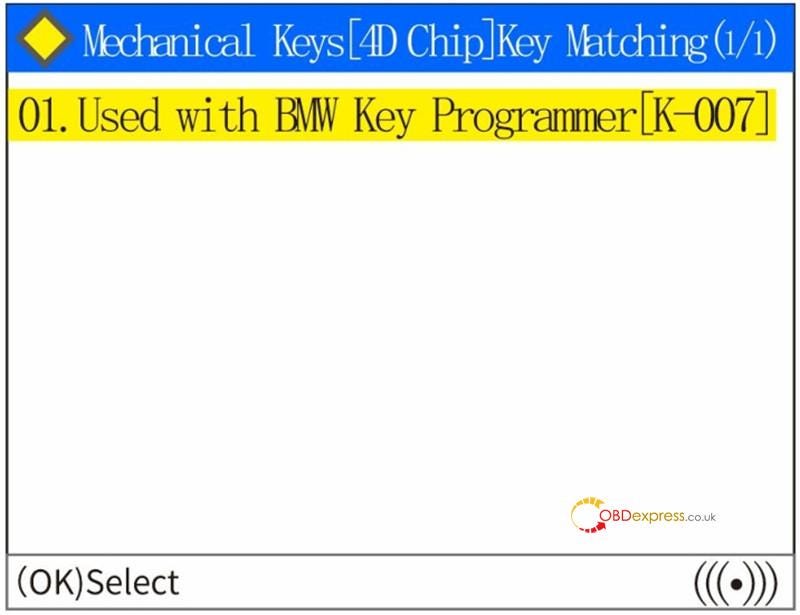
For example: If you select the "01 Mechanical Key 4D Chip Key Match" from the menu, and press the [OK] key to continue. The diagnostic scanner will prompt you to use the corresponding key programmer to connect correctly, as the screenshot shown below:
Press the [OK] button to proceed to the next step, and the diagnostic scanner will prompt you to connect to a WiFi.
[see "V. WIFI connect and upgrade instructions" for details] As the screenshot shown below:
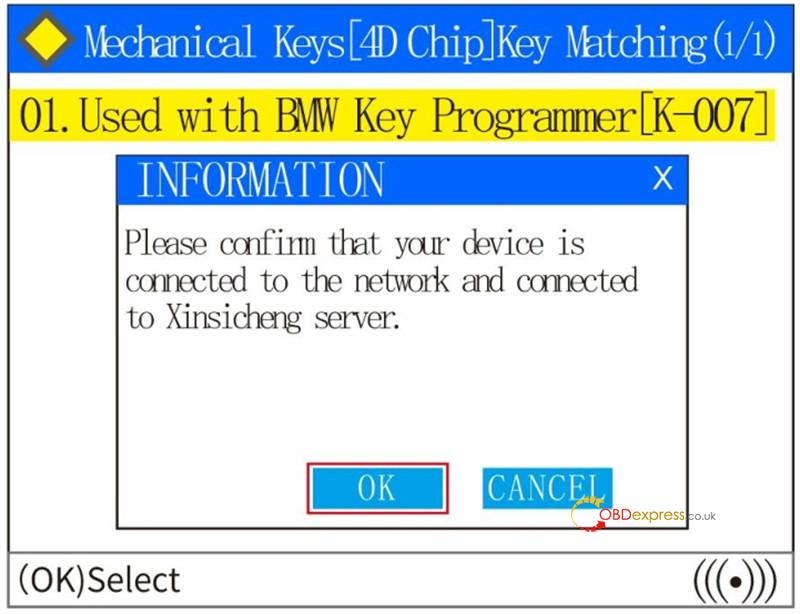
If the WIFI has been connected, press the [OK] button to continue the next step. The diagnostic scanner prompts to turn on the ignition switch and activate the anti-theft system, as the screenshot shown below:
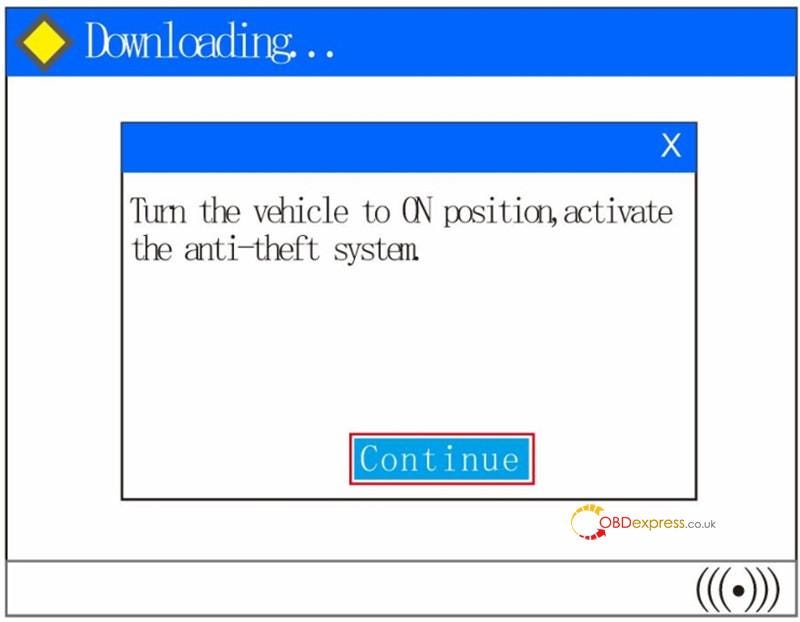
Press the [OK] button to proceed to the next step. After the diagnostic scanner is correctly connected to the anti-theft system, the relevant information of the ECU will appear. As the screenshot shown below:
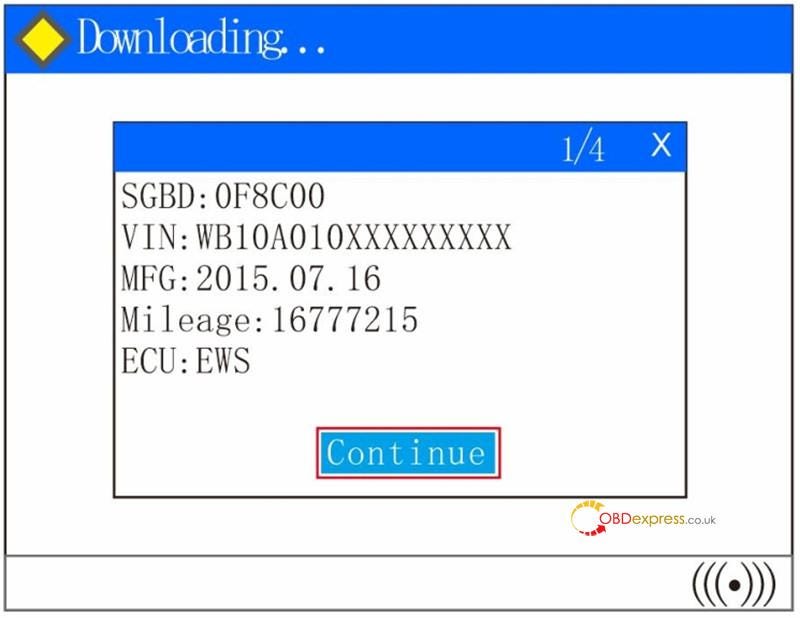
If the diagnostic scanner prompts communication failure, can not connect to the ECU, please check the reason for such communication failure: such as whether the ignition switch is opened correctly, anti-theft system type selection is correct and so on.
Press the [OK] button to proceed to the next step, and the related function menu of ECU will appear. As the screenshot shown below:
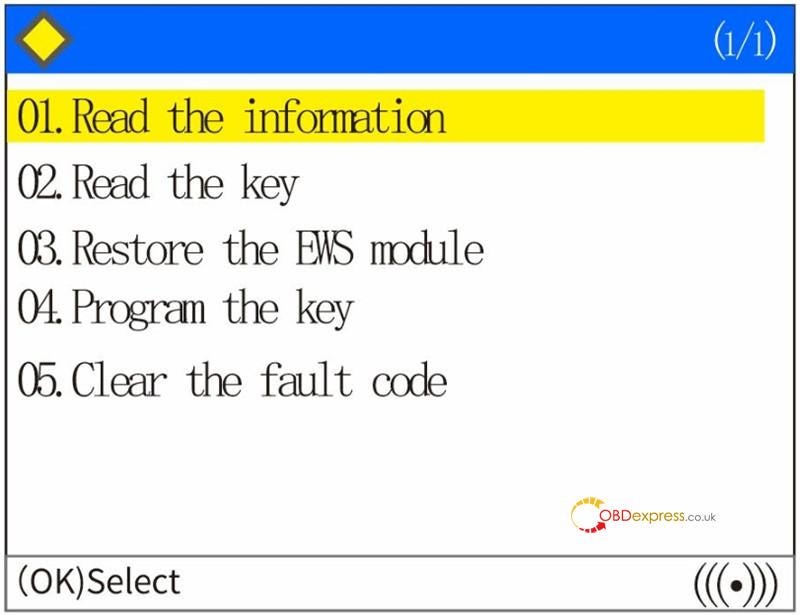
01 Read Information: Use for reading ECU related information, such as VIN, software number, and so on.
02 Read The Key: Use for reading the key channel information, you can get the number of keys have been matched and so on.
03 Restore The EWS Module: Use for restoring the damaged EWS module.
04 Key Programming: Use for adding a new activate key or deleting an existing key.
05 Clear Fault Code: Use for clearing the fault code of the EWS module. Select the corresponding functions from the menu and follow the prompts of the diagnostic scanner to operate. If you have any questions, feel free to contact our technical support.
System Setting
Select "System Settings" from the main menu and press the (OK) button. The following interface will appear:
- Basic Setup
This function can set whether the keystroke will make sound and modify the current language.
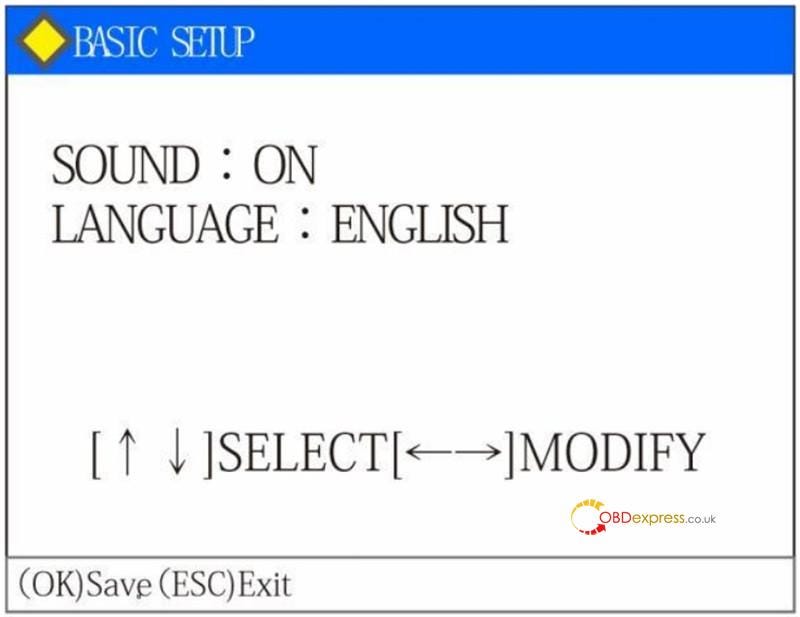
Press [ ↑] [ ↓] button to select an item, and press [←][ →] button to modify the value.
(Note: Language can be configured according to different countries, but the factory setting is limited to one single language).
Version Information
Select "Version Information" from the main menu.
After you press the (OK) button, the following screen will be displayed: You can view the serial number, software version and other detail information of the product.


No comments:
Post a Comment