Friday 27 April 2018

XTOOL VAG401 Review-Work Perfect On 2005 Passat And Easy To Use

 I’ll chip in some words of XTOOL V-A-G401 scanner.
XTOOL VAG401 OBD Diagnostic Tool bought OBDexpress.co.uk ,I received my Xtool VAG401 Handhold diagnostic tool recently around $45 with free shipment to my place. Tried it out straightly on my 2005 Passat and found it quite easy to use. If you have used VCDS VAG COM cable, you can probably figure out how to use this without reading the manual!
They include a reader. They also include a USB cable. The only use I have seen for the cable is to power up the unit from a USB port instead of your car. It is hand-held diagnostic tool with 160*160 LCD screen and no need to use a laptop or computer when diagnosing.
Turn to Auto Diagnosis
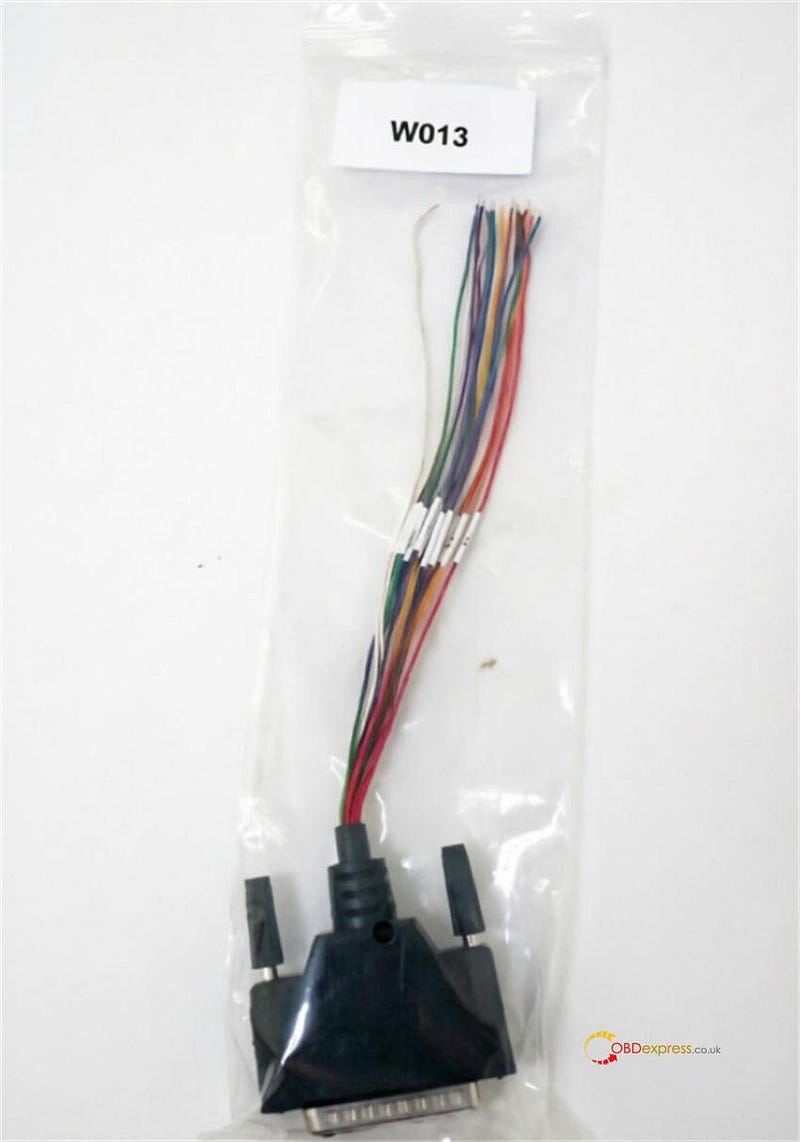
The OBDII 16PIN cable that hooks between the XTOOL VAG401 OBDII and the car is a straight thru cable. There are no components in the back shell of the OBDII connector. The other end has a 15 pin male d-sub connector.
I was able to use mine to read out the key code from the dash. I verified that it was the same as one I had gotten previously from VAG-Tacho. It reads error codes just like VCDS, although there is no autoscan function to scan all modules that I can find. It has successfully found all installed features on both my Passat and my friend’s Audi Allroad. Both of cars are dual k not CANbus. I have not tried it on CANbus car yet.
The best way I can describe the interface to the modules is the older VCDS lite interface. The original modulemenus were almost a copy of VCDS, although the latest update simplified them somewhat.
It supposedly can match keys to the dash / immobilizer, although I have not tried it. It has a few other functions that VCDS does not have, such as mileage changes, oil reset, SRS reset etc. It can code modules, do adaptations, etc.
I figured out to update mine. Download the update application from the xtool website, and use the Xtool VAG401 serial number as the user name, and the password from the about screen as the password. You do not need to register. I downloaded the updates, and it said the update was successful. When I started the diagnosis, it loaded a new .bin file. Menus changed somewhat, and new options were added.
I got it in a couple of days. If you travel a lot, you can keep it in the car. You do not need a computer or power supply to use it, which is convenient. I can’t speak for how well it works on other cars but works fine on my 2005 Passat.
XTOOL VAG401

Src:
http://blog.obdexpress.co.uk/2018/04/28/xtool-vag401-review-work-perfect-on-2005-passat/

Miocropod 2 clone - won the lottery :D

I won the lottery!
I bought my miocropod 2 clone from http://www.obdexpress.co.uk/wholesale/witech-micropod-2-diagnostic-programming-chrysle.html, same as what Radius bought. It came with a hard drive that is barely working. Its making beeping sounds and clicking and on its very last legs. I was able to make a backup though and there is actually a second partition on it with an Acronis backup image already created from 8/15/17. Anyway I will have to contact the seller and arrange for some discount since the hard drive is virtually useless.
Anyway, the main thing is that the miocropod 2 had the required circuits etc, and the DRB3 works after following most of Radius’s instructions. I had to change it up since I did follow his instructions exactly, but the flexnet update didn’t work, and so it failed and the drb3 did not work.
In order to get it to work, I had to change the date. In the beginning when installing the stubs, his directions had already instructed you to change the date to 1/1/17, then navigate to the folder and install the three stubs. Reboot. Try to use flexnet connect to update but it failed. Windows update also errored because of the wrong date. So I changed the date to the correct date. Now flexnet connect worked and I was able to update K-line and enhanced drb3. As soon as both had updated, I disconnected internet and then changed date back to 1/1/17. Then I followed the rest of the instructions. Plugged in the pod, waited for windows to see it and make the virtual network, and then launched wiTech. Launched enhanced drb3. Success!! It works!!
So the instructions are good, but at least for me, I had to fix the date to the correct date to get the flexnet updates. Once updated, disconnect the internet and change the date back to 1/1/17 for it to work.

Radius’s instructions: the thread from http://mhhauto.com/Thread-Verified-Clone-Micropod-2-working-with-DRB-Emulation

The device I purchased is an OFFLINE ONLY version of micropod 2, but I only use it for diagnostics, not for programming as I do not have a TechAuthority account. So if you need one for online use this is not the unit to buy.
These are the steps I followed to get Enhanced DRB III Emulator to work:
1: Make a backup copy of the partition from the hard drive included with the micropod!
2: Install HDD in laptop
3: Set date to 01/01/17 BEFORE booting from laptop
4: Boot to HDD
5: Allow windows to install drivers, etc, as needed for your laptop and reboot as needed.
6: Once all of that is done, do NOT run WiTech yet!
7: Turn OFF internet!
8: Navigate to C:\ProgramData\wiTECH\jserver\data\core\stubs
9: Install DRB Emulator stub
10: Install DRB Enhanced emulator stub
11: Install K-Line stub
12: Reboot computer
13: Set date back to current date
14: ALLOW internet access
15: Run Flexnet software updater. Do NOT update WiTech!!!
16: Flexnet will find updates for enhanced DRB and K-Line
17: Install K-Line update first
18: Install Enhanced update next.
19: Turn date back to 01/01/17!
20: Once updates and downloaded and installed, turn OFF internet and NEVER turn on again!
21: Reboot computer
22: Attach Micropod to car. When green LED turns on, turn on car ignition
23: Attach USB cable to PC and Micropod
24: When Windows is done installing drivers, etc, you should show a network connection in the tool tray with no internet access
25: Run Wi-Tech
26: Press “Launch DRB III” button in lower right hand corner
27: Accept EULA
28: DRB Emulator will launch.
29: Enjoy.

UPDATE:
I already tested it on a 2010 Charger under witech and works flawlessly, and got a 2004 Dodge pickup and under the emulator worked perfectly. I already called my locksmith, who drives an 04 Sprinter to try it as well.

Src:

Wednesday 25 April 2018

How to change idle speed with a Tech II scan tool

Confirmed! Tech II scanner is able to raise and lower the idle!

It’s possible for GM vehicles to get the ecm reprogrammed for the fast idle increase. your local dealer should be able to help you out. here is how it works.

Subject: 
Programming ECM For PTO Idle Up Operation

Models:  
2001-2007 Chevrolet Silverado Classic
2003-2009 Chevrolet Kodiak
2001-2007 GMC Sierra Classic
2003-2009 GMC TopKick
with 6.6L or 8.1L Engine

How-to’s:

Connect the Tech 2 and follow the steps below to program the ECM for idle up feature with PTO operation:

Turn on tech 2 and build the vehicle

select “Powertrain” (Or “Vehicle Control Systems” on later models)

select “Special Functions” (or “Module Setup” on later models)

select “PTO Options”

select “Change Options” (soft key at bottom of the screen)

select F1 “PTO Preset Speed Control”

select pto max engine speed set to 2200 – 4400 rpm (not below 2200)


Note: These steps will not allow the engine rpm to exceed the rpm setting, even during normal driving if the PTO switch is on

select stand by speed (base fast idle ) set to 1200 (this setting is initial fast idle)

select PTO set speed – set to 1400 rpm

select PTO resume speed – set 1700 rpm

select PTO max engage speed – set to 1800 rpm (PTO engagement inhibit speed)

select PTO engine shutdown – no

select PTO engage relay – no

select PTO feed back -no

select “Reprogram” (soft key at bottom of screen) “Waiting For Data” displays on screen-once data comes back verify settings remain

key off- until tech 2 “beeps” and screen shows “no communication” (Very important step if missed setting will not store)

key on – verify settings remain on list

operate pto


Src:
http://blog.obdexpress.co.uk/2018/04/26/how-to-raise-and-lower-idle-rmp-using-a-tech-ii-scanner/

Monday 23 April 2018

KEYDIY KD-X2 Operate Video Guide

How to use KEYDIY KD-X2 Remote Generator Transponder Cloner to Identify Chip Type

Video shows:
Put the chip you want to identify into the chip slot,then press the “Chip Identification” button.
keydiy-kd-x2-remote-unlocker-cloning-4
keydiy-kd-x2-remote-unlocker-cloning-5 keydiy-kd-x2-remote-unlocker-cloning-6 keydiy-kd-x2-remote-unlocker-cloning-7

What’s the KEYDIY KD-X2?
1. Power supply: 2600mAh lithium battery; Charge method: USB 5V/1A
2. With 0.91inch OLED display screen.
3. Bluetooth BLE4.0 inside, work with mobile KD app by bluetooth connection
4. Can work with PC software by USB-B connection, and work with Android phoneor tablet by OTG connection.
5. With PS-2 interface for connecting remotes to generate.
6. Three functional shortcut buttons: chip identification, remote identification and frequency detection.
7. Basic functions as below:
1) Wired Generation.
2) Wireless Generation.
3) Mobile Phone Simulation.
4) Garage Door Generation.
5) Proximity Key Unlock.
6)  Frequency Detection.
7) Infrared Detection.
8) Access Card Copy.
9) Fixed Code Remote Copy
10) Online HCS Remote Copy.
11) Online Chip Copy ( 96 bit 48chip, 46chip, 4Dchip, Toyota chip etc. )
12) Chip Generation.
13) Chip Editing.
14) Chip Simulation.
15) lgnition Coildetection.
16) Remote Data Backup.
17) Additional Functions Will be Available in Succession.
18) Free Activation of 96 Bits 48 Transponder Copy (No token required)
Src:

CGDI BMW Feedback/ Support

CGDI Prog BMW tech support:


CGDI BMW Feedback: (updated in 04.2018)

19-03-2018, 11:04 AM
Excellent tool so far. no bricks or problems.
extremely fast for cas1, 2 & 3
for cas3+ if need downgrade 10 minutes and seems safe, ISN read from DME 10 minutes does not support all DME is down side.
make sure you have proper power on the car
cas4 /+ did not check

19-03-2018, 15:59 PM
cas4 F10 – ok (new key)
cas4+ F10 – ok (new key) isn from org key or dump DME
fem/bdc F31 – ok – reset mileage, change isn, change vin, make keys with oryginal key and with dump from DDE
cas3+ E60- ok , downgrade and make key with isn from org key

28-03-2018, 05:51 AM
08-Mini Cooper – Added Key With CGDI Bmw programmer 
the wording was alittle confusing when it ask u is it a prox or non prox this car was a non prox so u push yes and for add keys u put your first key in the programmer slot then put your unlocked key in and then your done just make sure u have jumpers Hooked up so u don
t lose power and I had a surge protector on my obd to stabilize the power cas3+

07-04-2018, 06:06 AM
So I purchased the cgdi programmer.
I figured out how make key for cas2-3 but I cant figure out how to use this programer for cas4. I tried looking online but only find for cas3,no instructions for cas4, can anyone tell me steps for cas4 I have f10 I can try one.

07-04-2018, 07:22 AM
Cas4 can only be done by reading DFlash from Freescale cpu then load into programmer software and generade key. It can no ne done by obd.Need xprog or vvdi prog to read the dflash.

10-04-2018, 06:55 AM
work like VVDI2 – synchronization every month


Friday 20 April 2018

Which tool supports VW/Audi Component Protection?

This is for those looking for a tool for VW/Audi Component Protection…

There are three (or more) options of VW/Audi Component Protection.
It can be done with FVDI2 commander, Auro IM6000 and ODIS service and the like.


Option 1: FVDI2 VAG:
Car list: AUDI A4/A5/A6/A8/Q5/Q7 component protection
fvdi2-VW-Audi-Component-Protection

Instrument CAN:
Reading security code (PIN) and component protection by OBDII – VW CRAFTER
Component Protection Manager:
Component Protection Manager – adaptation of spare part (used electronic control units) and programming component protection of Audi A6/Q7/Allroad/A4/A5/Q5

Option 2: Auro OtoSys IM600
auro-im600-VW-Audi-Component-Protection-yes

auro-im600-VW-Audi-Component-Protection-yes


Option 3: ODIS service
With online diagnosis system (ODIS), you can also remove component protection is to take

ODIS-1

ODIS-2
What is VW/Audi Component Protection?
Component protection is VWAG’s (VW, Audi, Seat, Skoda, Bentley, Lamborghini) way of eliminating vehicle or component theft by keeping track of each individual component and which vehicle it’s assigned too from the assembly line.

When a component protected module is fitted to its non-original vehicle, many, if not all of its functions will be limited. This is to try and prevent the use of stolen parts in the second-hand market. If a VWAG vehicle is reported stolen, a flag will be raised with their database for the vehicle’s VIN and the internal serial number/coding of each module fitted to said vehicle, such as an Engine or transmission ECU, Infotainment/Radio unit or AC/Heater control panel) making it impossible for these parts to be used on another vehicle. This will raise an error within our diagnosis system (connected to VWAG’s servers) when trying to remove the component protection and not allow the technician to proceed, alerting VWAG to the use of stolen parts.

Component protection also applies to any brand-new parts purchased and fitted. It would need to be removed before the technician could proceed with and coding, adaptions, or basic settings or said component.

Wednesday 18 April 2018

Nissan Consult 3 Plus NOT Connect to PC (customer solutions)

This is for those with a Nissan consult 3 plus interface not connected to the PC.
Usually when users power it up, only the red power led comes on and nothing more.


attach a photo…and help on how to resolve this problem, from mhhauto.com
nissan-consult-3-plus

Suggestion from experienced users:

1: close anti-virus program & disconnect internet connecton
Anti virus program oder firewall/auto protect activ
This software may disturb/block the vi- recognitoin routine of c3+.
in my case (using a passthru device) i disconnected the internet connection, deactivated the auto protect function and after starting c3+ again, the led became green….
I think to remember , you have to connect the original vi to the car and the laptop, both. Only connection to the laptop is not enough for c3+ to recognize the original vi.

2: check usb circuit on pcb and usb sockets on pc
If you have basic knowledge of checking the pcb and components internally, check the usb circuit etc. and have a try on another laptop to eliminate faulty usb sockets on pc

3: check wiressolder breaks, etc.
Use a multimeter and check for broken wires between obd plug and pcb , check for solder breaks on pcb where plugs and connections are soldered to, basic fault finding, check for pcb damage like scorch marks or discoloration and components for signs of stress or damage, use a high power magnifier.

4: check continuity
Then its a case of deeper fault finding using things like scope, function generator etc, check continuity with cable plugged into the interface in case one of the contacts is bad then follow connections as far as you can on pcb to check for breaks on the board.

OBDSTAR DC706 Clone Renault EMS3120 ECM by Boot

  Question: Is it possible to clone Renault Continental EMS3120 TC1738 ECM by OBDSTAR DC706 ? Obdexpress.co.uk engineer replied: Yes. ...