2M2 Magic Tank Automatic Car Key Cutting Machine problem: the device is locked after automatic download and update, it prompts to unlock and unable to calibrate.
How to unlock 2M2 Magic Tank?
- Turn on APP, and then connect the machine by Bluetooth
Please enter "settings"-----"machine data"-----
A: When 2m2 tank=2, PCB=113, Structure=104?
Enter "update"---- click "2021061101" to update
B: When 2m2tank=0, PCB=111, Struction=104?
Enter "update"---- click " 2" to update ------waiting to finish
Restart the machine and APP
Connect the machine by Bluetooth ------- enter "update"
------ click "2021061101"--- wait till finish
C: When 2m2tank= ?, PCB=112, Struction=104?
- Enter "settings"---- as below picture
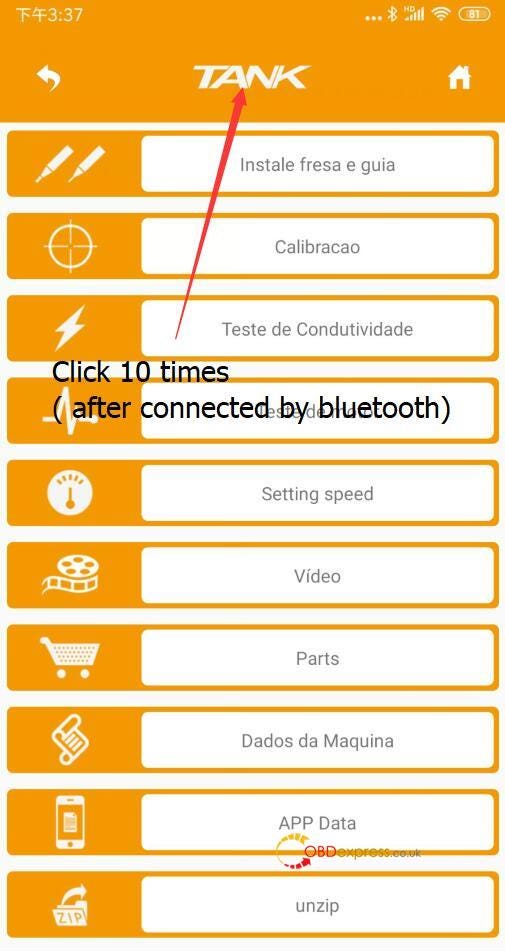
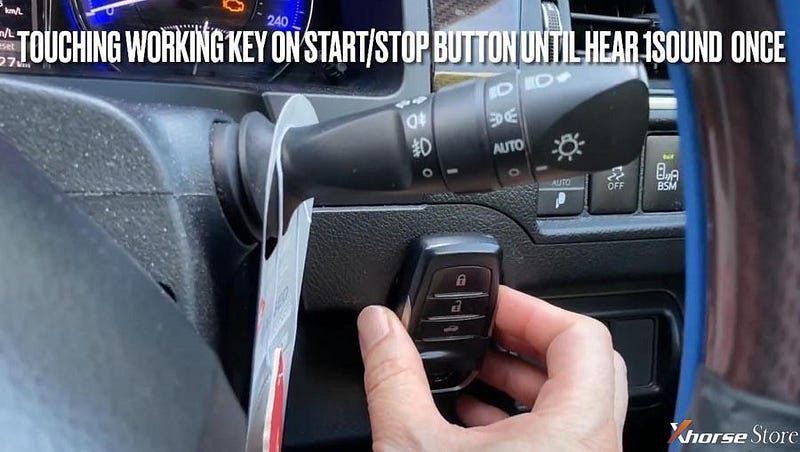
Click till machine sound
(2)
Restart the machine and APP
Connect the machine by Bluetooth
Enter "setting"------- as below picture

Click till machine sound
Restart the machine and App
Connect the machine by Bluetooth
Enter "Settings" ----- "Machine data"----- check If it is "PCB=111, structure = 104".