Fetrotech Tool is used to work with PCMTuner V1.27 for MG1 MD1 EDC16 MED9.1 ECU reading and writing on bench without opening the ECU cover (click Fetrotech Tool: MG1 MD1 EDC16 MED9.1 Read & Write). Here obdexpress.co.uk provides the guide to download, install and activate PCMTuner Fetrotech Tool plugin software.
Note:
The process applies to Fetrotech silver version and black standalone version.
Fetrotech Tool Software installation video:
Operating system:
WIN 7/WIN8/WIN11
Win10 pro 64bit- has tested ok
Step 1
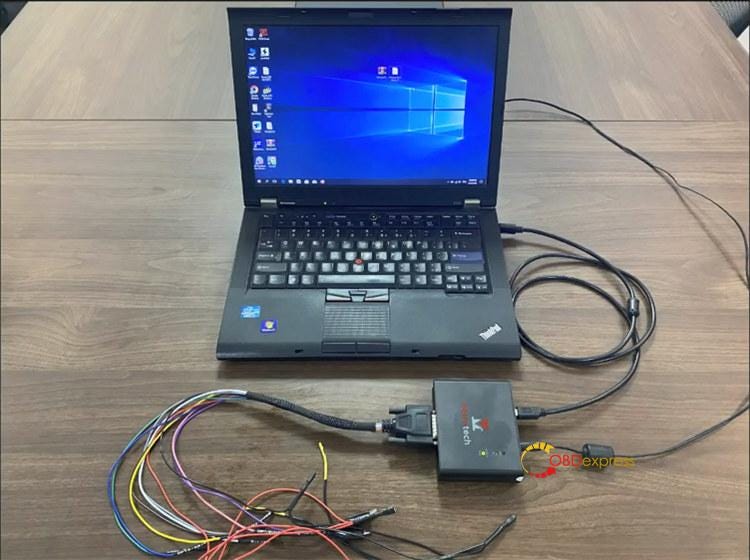
Connect Device
Connect Fetrotech with computer and power supply according to the corresponding wiring diagram
Step 2
Download Fetrotech Tool
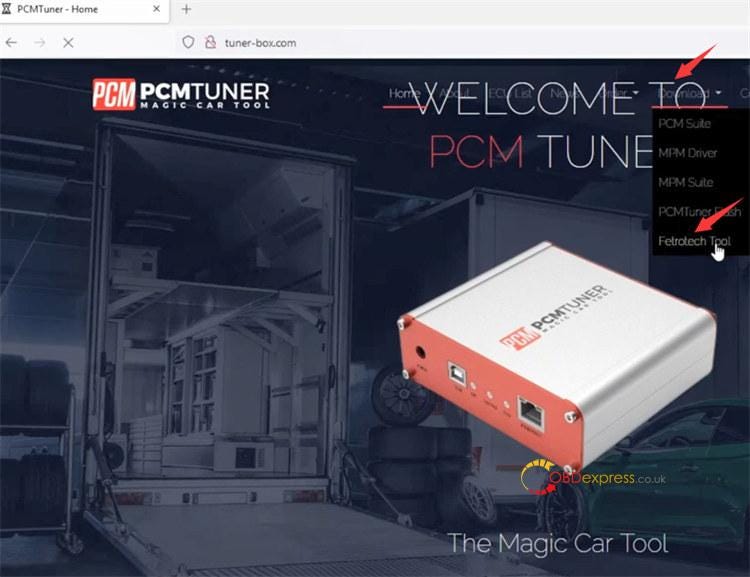
Visit www.tuner-box.com
Click 'Download' on the toolbar
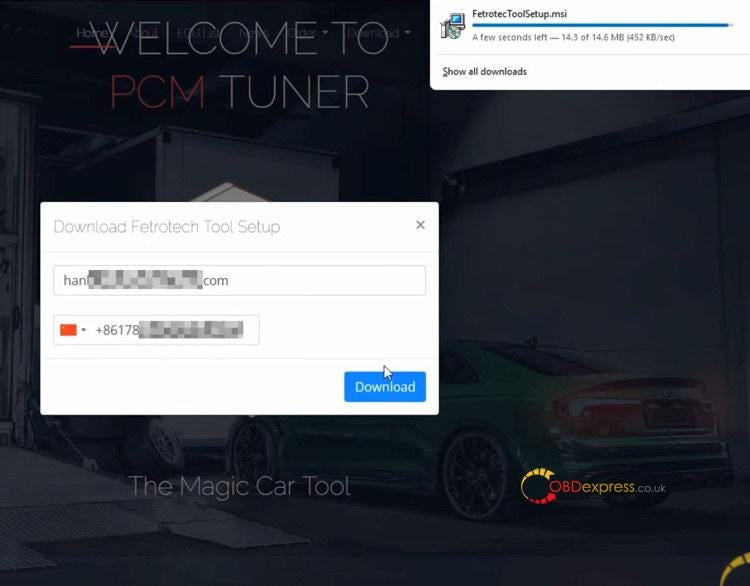
Select Fetrotech Tool to download software with the email and telephone number
Extract fetrotech tool setup zip file to desktop
Step 3
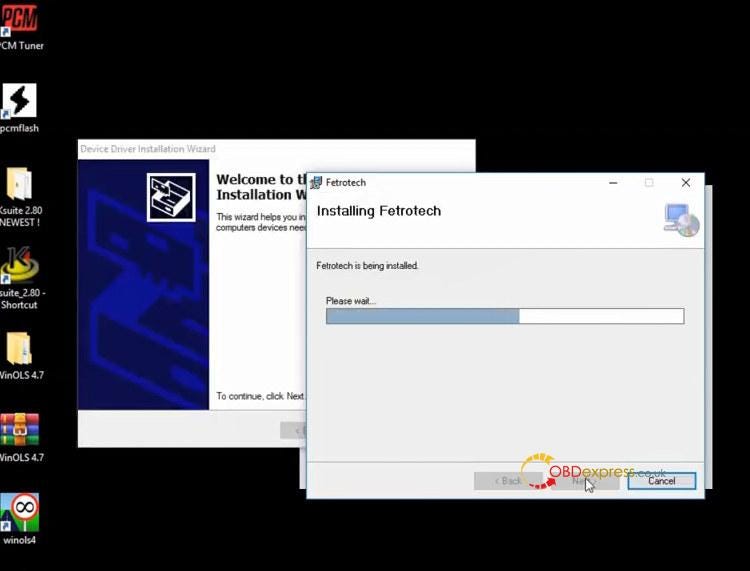
Install Fetrotech Software& device driver
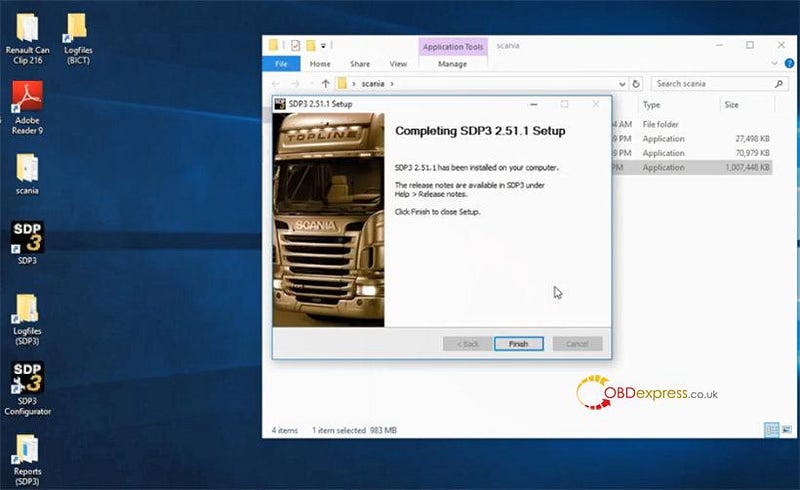
Install Fetrotech Tool Setup application
Click Run…Next…Next to finish installation
Install device driver
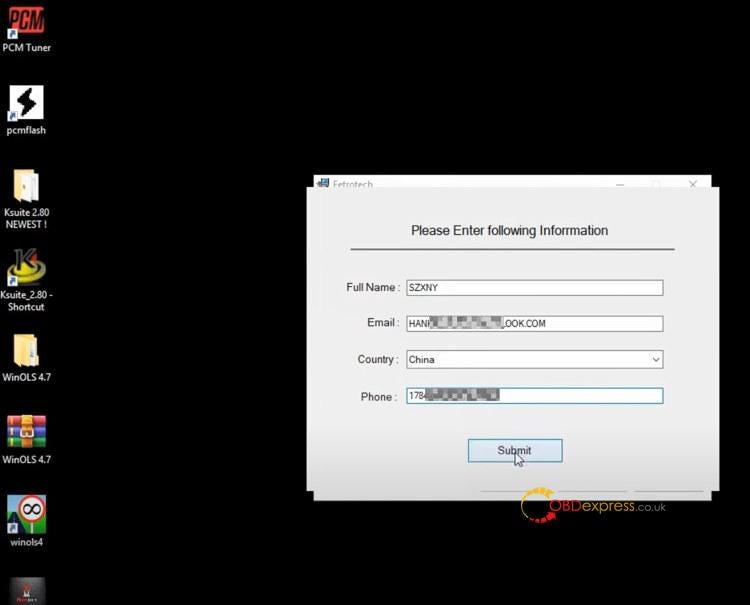
Fill in user information (full name, email, country, phone) and click 'Submit'
Fetrotech software and driver have been successfully installed
Step 4
Activate Fetrotech Tool
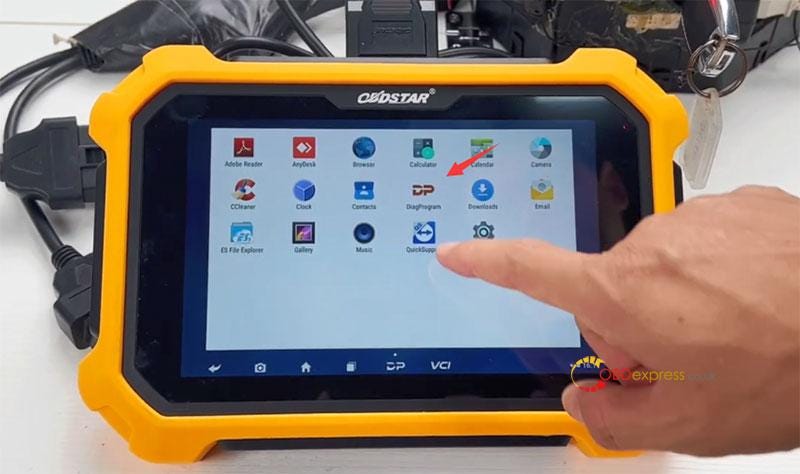
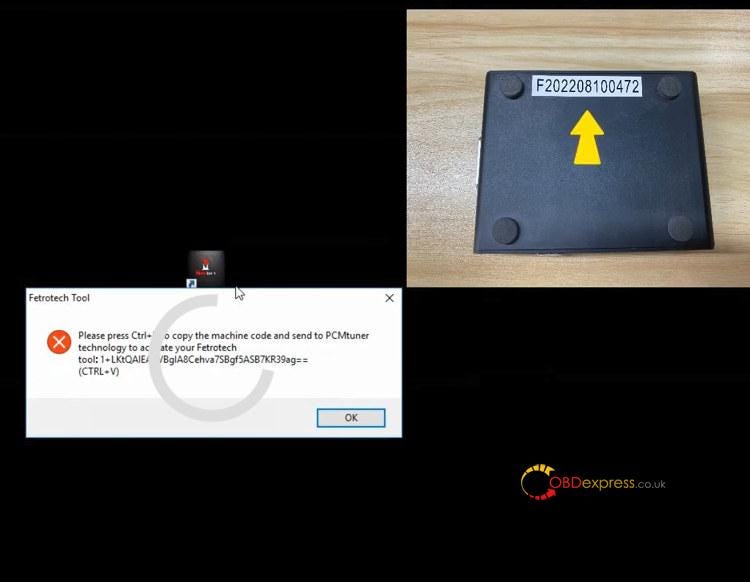
Run Fetrotech Tool software desktop shortcut
Follow the prompt to press Ctrl+V to copy the activation code and the device serial number (on the back of the machine) to info@tuner-box.com
After activation, you will get two license files.
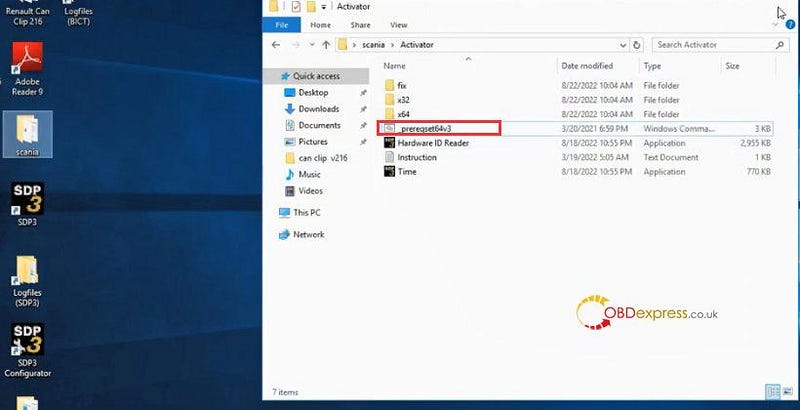
Put the files into the corresponding locations and perform the corresponding operations
DON'T DELETE THESE LICENSE FILES!!!
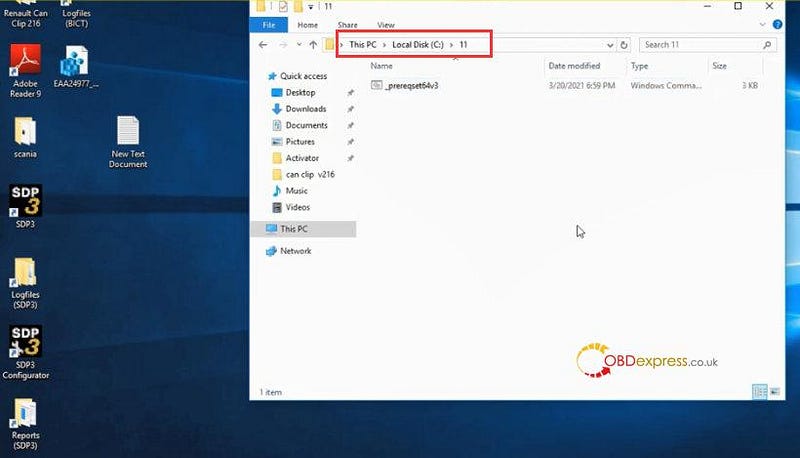
Cut and paste Fetrotech Tool license file to disk C://
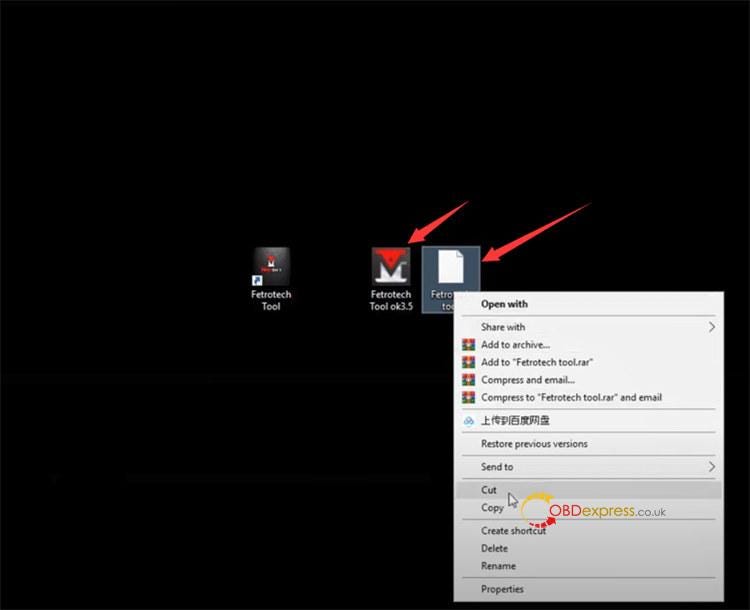
Cut and paste Fetrotech Tool ok3.5 file to C:\Program Files (x86)\Fetrotech folder
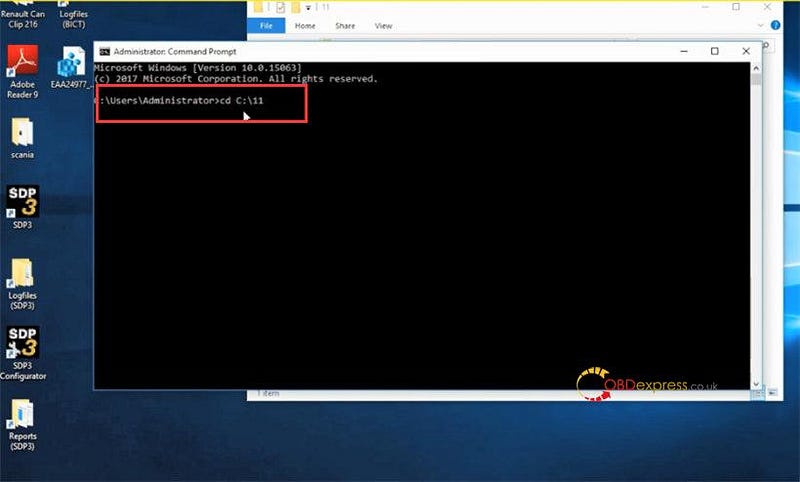
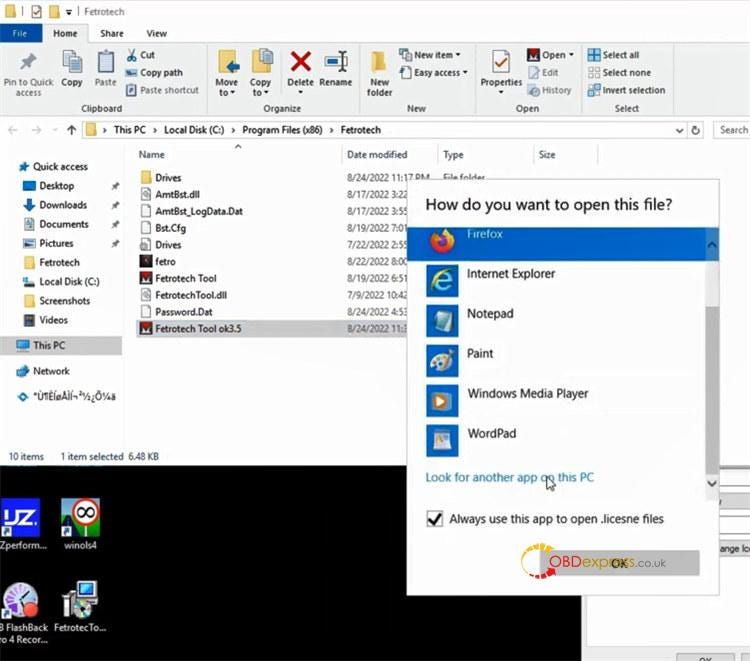
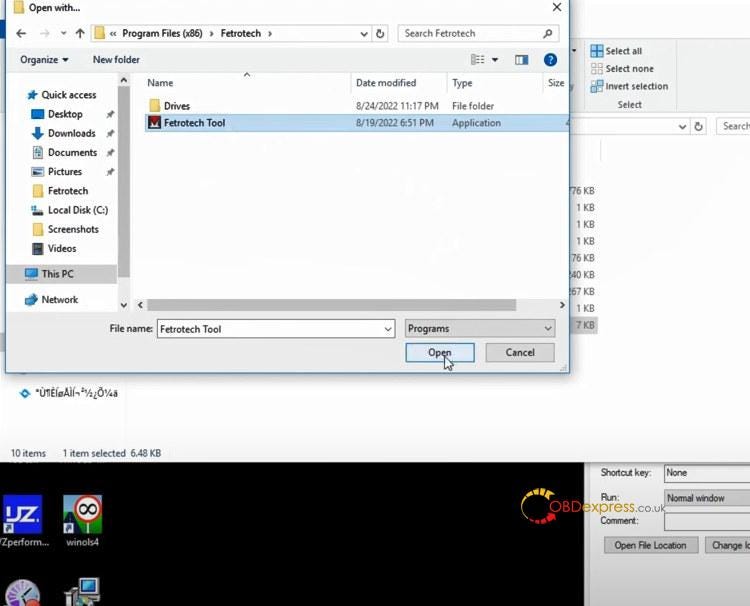
Open Fetrotech Tool ok3.5 with Fetrotech Tool on C:\Program Files (x86)\Fetrotech folder
Now the device is activated.
Step 5
Run software
Run Fetrotech Tool and software is ready to use
Fetrotech Tool software problems and solutions:
Problem 1:
Software flashback problem
Solution:
Click on the FetrotechToolSetup, select Repair Fetrotech and Finish.
Problem2:
Failed to activate Fetrotech software with the guide above
Solution:
Uninstall the software, download and install Fetrotech software again.
Problem 3:
There is a problem with Windows installer package.
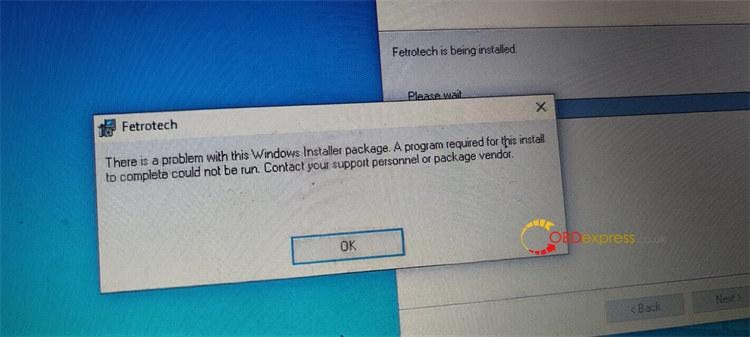
Solution: