Monday, 24 January 2022

What is the difference between so many models of Autel MaxiSYS MS906?

 There are many products in the Autel MaxiSYS MS906 series, and how to distinguish them has become a problem. This article will introduce the differences between the various models of Autel MS906. In order to save readers' time, the conclusion is written in the front. Interested readers can continue to read the details below.


  1. MS906 compared to MS906S: MS906 is a cable connection, MS906S is a Bluetooth connection.
  2. MS906 Pro compared to MS906S: MS906 Pro has remote cloud function, and its hardware configuration is better than MS906S (bigger battery, higher camera pixels, better CPU and memory). It also has more functions than MS906S.
  3. MS906 Pro-TS compared to MS906 Pro: MS906 Pro-TS has more TMPS function support. Other functions are basically the same.


Conclusion: There is not much difference between MS906 Pro and MS906 Pro-TS. From the model code, MS906 Pro-TS has more TPMS function.

Instead, there is a big difference between MS906S and MS906 Pro.


For feature support please see the picture
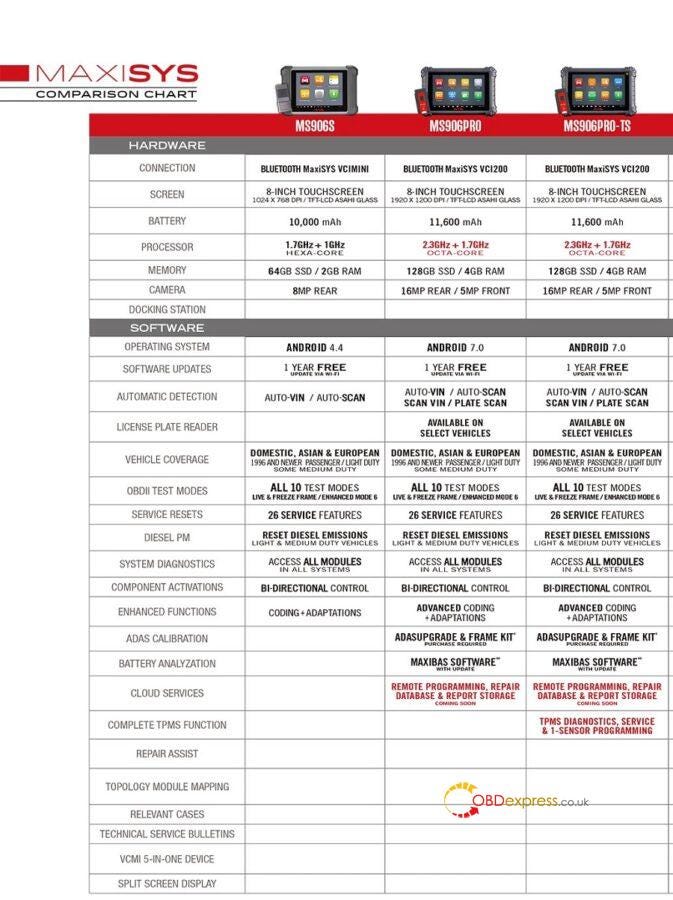
difference between so many models of Autel MaxiSYS MS906


Since most of the functions of Autel MaxiSYS MS906 Pro and MS906 Pro-TS are the same (except the TPMS function), we will focus on MS906 Pro-TS:

Autel MaxiSYS MS906 Pro-TS upgraded from Autel MS906TS/ MS906/ MS906S/ MP808TS/ MK808TS, Autel MaxiSys MS906 Pro-TS is equivalent to MS906TS + TS601.


The highlight of Autel MaxiSYS MS906 Pro-TS is the TPMS function: With Complete TPMS modules, Autel MS906 PRO-TS integrated TPMS antenna module to perform comprehensive TPMS service: activate/ relearn 99% all-known OEM TPMS sensors, program MX-sensors, turn off TPMS light, retrieves the sensors' OEM part No. in seconds and provides with 3000+ built-in relearn procedures.


Compared with competitors, Autel MS906 Pro-TS allows users to automatically create 1-16 sensors to program the new MX-sensor at the same time.


Features available in both Autel MaxiSYS MS906 Pro and MS906 Pro-TS (but not MS906S):

Battery analysis capability.

Cloud-based Reports and Data Management.

Remote Expert (coming soon).

* With additional purchase of the MaxiBAS BT506 battery and electrical system tester.

With purchase of ADAS calibration frame system and software.


Technical support by: www.obdexpress.co.uk
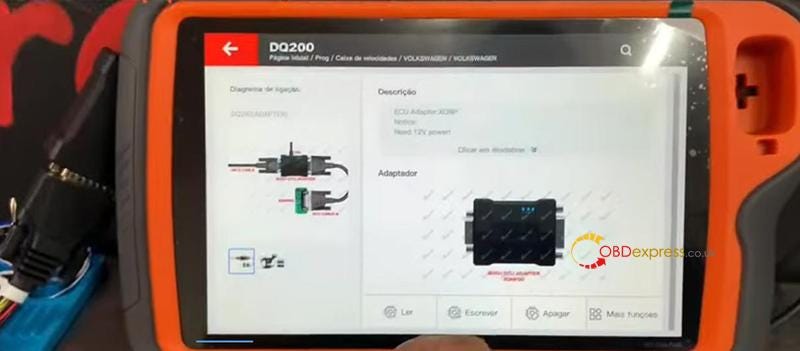
Which programming tool to choose for VW DQ200 Gearbox Clone?

 Today obdexpress is going to show you 4 ways to clone VW DQ200 gearbox.


We’ll cover:

Xhorse

Launch

Yanhua

CGDI


Part 1. Xhorse

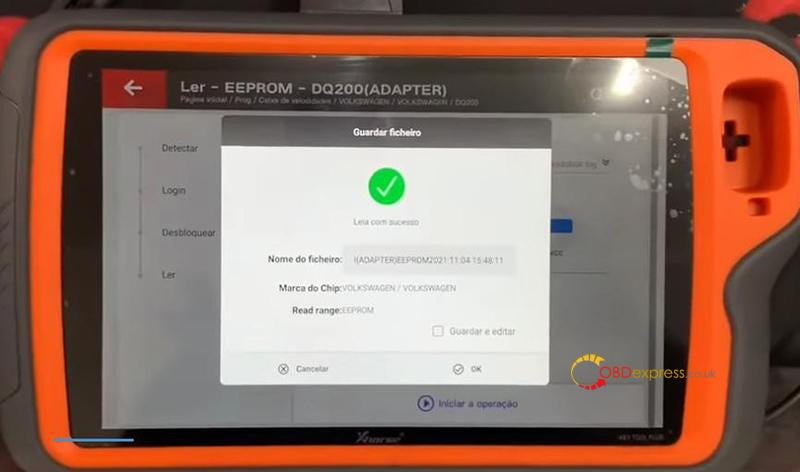
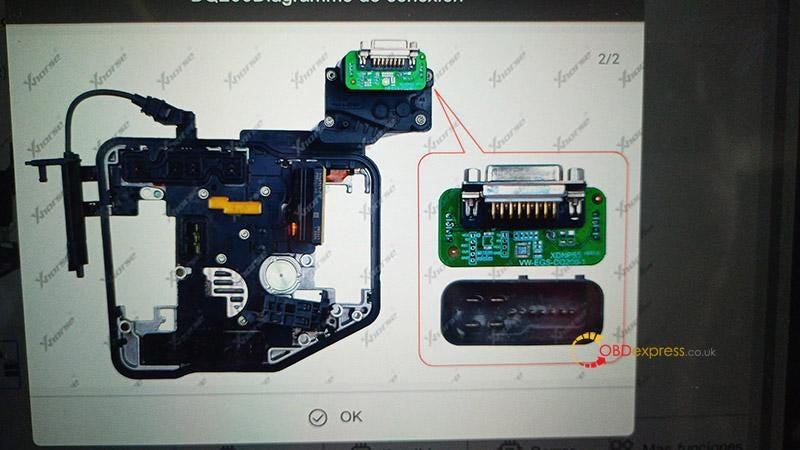
Read: Key Tool Plus + XDNP55 DQ200 Adapter.

Write: VVDI Prog

Connection (12v power supply)

Key Tool Plus > BOSH ECU adapter > ECU cable-B > XDNP55 adapter > DQ200

clone VW DQ200 gearbox

clone VW DQ200 gearbox


Path:

Prog>>Gearbox>>Volkswagen>>DQ200>>Read>>EEPROM

clone VW DQ200 gearbox

Then backup and write this data file to a new gearbox by VVDI PROG.

Support list:

DL382, DL501, DQ200, DQ250, VL381


Part 2. Launch

Read&Write: Launch X431 Pad VII + X-Prog3

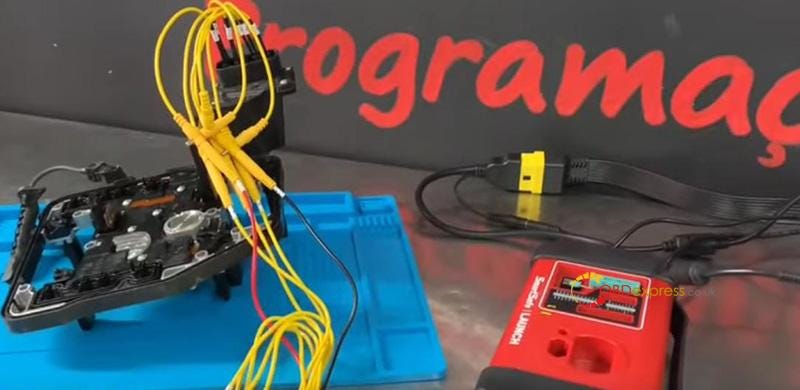
Connection (12v power supply)

clone VW DQ200 gearbox

Path:

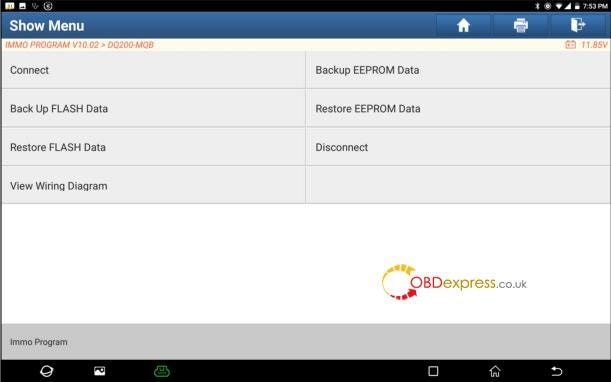
Service Function>>IMMO PROGRAM>>Gearbox>>VW/Audi>>DQ200-MQB>>

Select “Back Up FLASH Data” and “Back Up EEPROM Data” to read and save original data.

Then replace the original one by the new one.

Select “Restore FLASH Data” and “Restore EEPROM Data” to write the data in.

clone VW DQ200 gearbox

Support list:

DQ200-MQB, DL501 Gen1, DQ400E, DL382-7F, AL551, AL552, DQ250XX, VL381, DL501 Gen2, DQ380, AL450, DQ200G2


Part 3. Yanhua

Read&Write: Mini ACDP main unit and Module 13 for VW gearbox.

Connection (12v power supply)

clone VW DQ200 gearbox

Procedure:

Follow instructions to backup and write EEPROM data.

Support list:

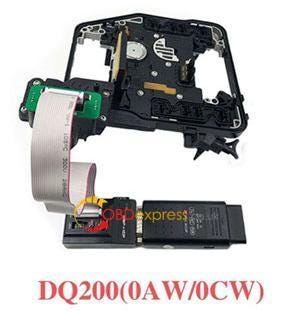
DQ200 (0AM/0CW), DQ250 (02E/0D9), DL382 (0CK), DL501 (0B5), VL381 (0AW), etc.


Part 4. CGDI

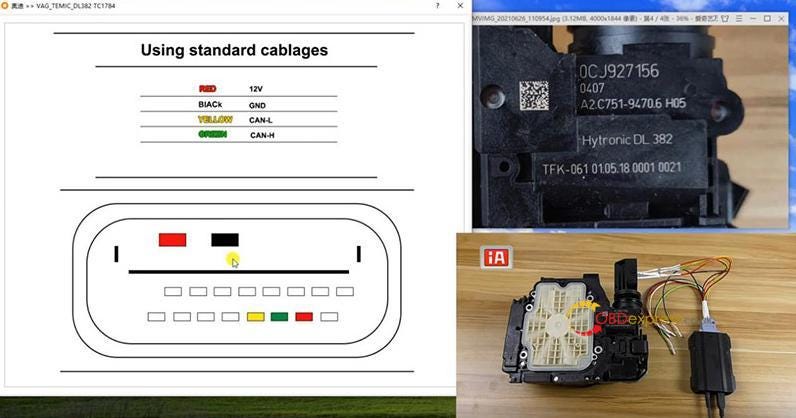
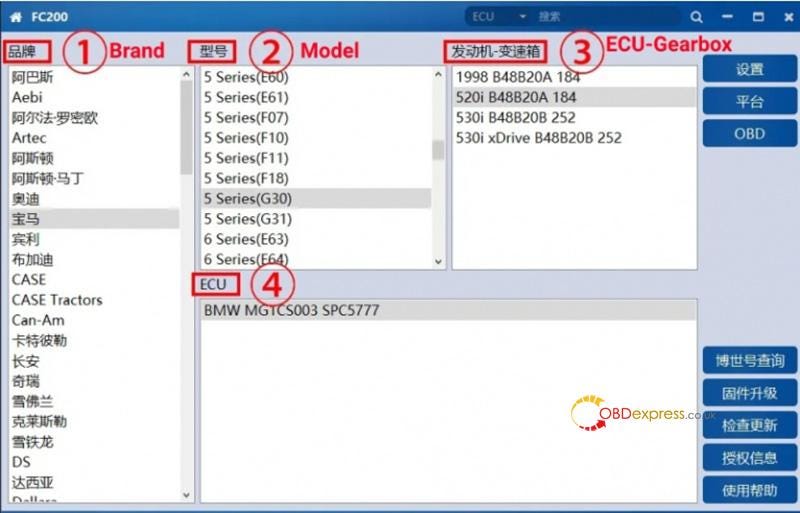
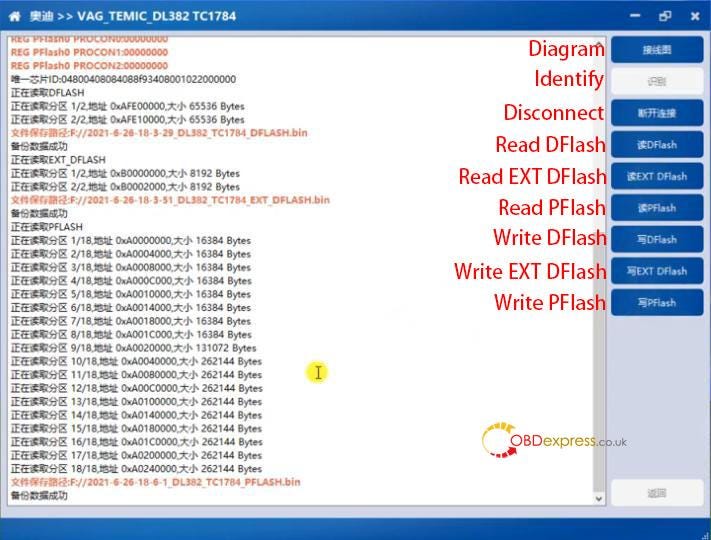
Read&Write: CGDI FC200

Connection (12v power supply)

Similar to DL382.

clone VW DQ200 gearbox

Procedure:

Search number to select ECU type.

clone VW DQ200 gearbox

Read DFlash, EXT DFlash, PFlash data.

clone VW DQ200 gearbox

Replace the original one by the new one.

Write DFlash, EXT DFlash, PFlash data in.

Support list:

Click to check.


Alright, that’s today’s sharing, hope you can find the correct one.

www.obdexpress.co.uk

AK90 with VXSCAN adapter key programming for BMW EWS4

 This article will show you the process of BMW EWS4 Key Programming using AK90 Key Programmer and VXSCAN IC Adapter.


AK90 is mainly for regular keys and EWS3/4 systems older BMWs not for smart keys. Let’s see its capacity to EWS4.


Notice: disconnect battery before removing EWS module.

Step 1. Connection

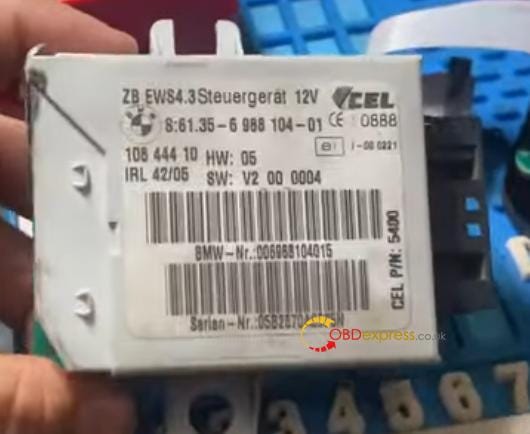
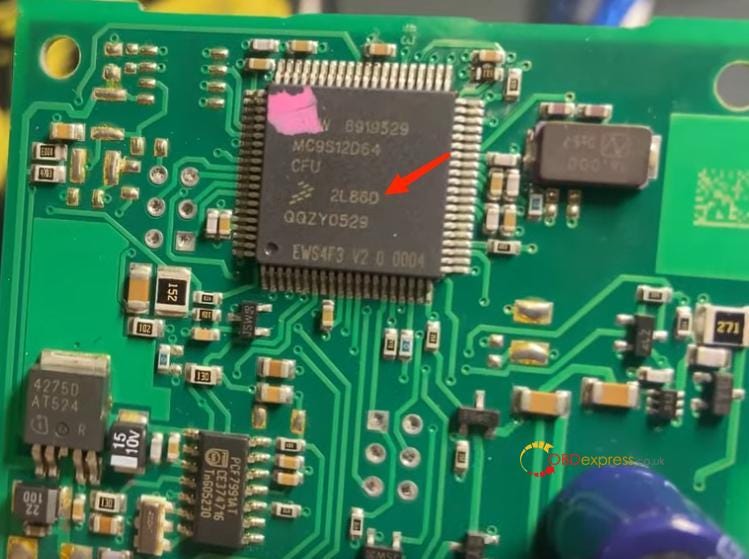
EWS info. (Mask: 2L86D)

AK90 with VXSCAN adapter key programming for BMW EWS4 AK90 with VXSCAN adapter key programming for BMW EWS4

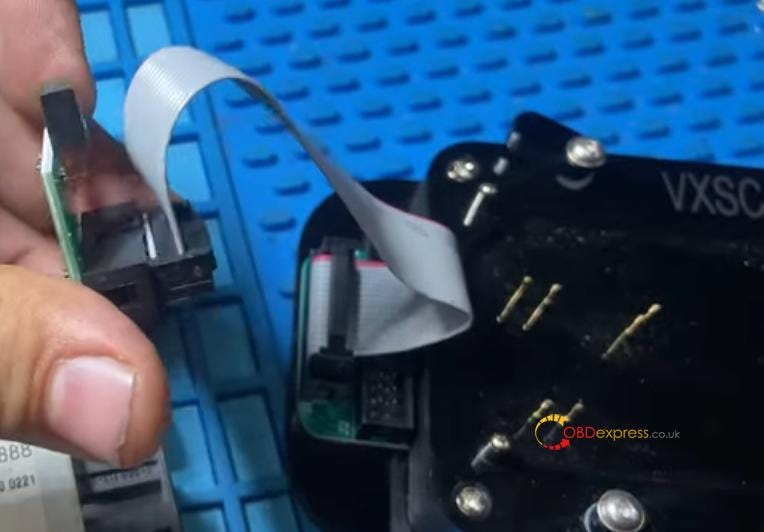
Connect the ribbon cable to VXSCAN Adapter. (Care J1 and J2 position, here is J1.)

AK90 with VXSCAN adapter key programming for BMW EWS4

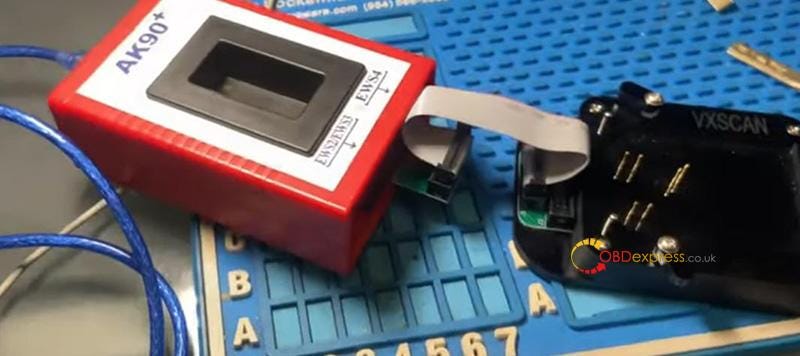
Connect AK90, VXSCAN and the ribbon cable. (Do connect to the right EWS port, here is EWS4.)

AK90 with VXSCAN adapter key programming for BMW EWS4

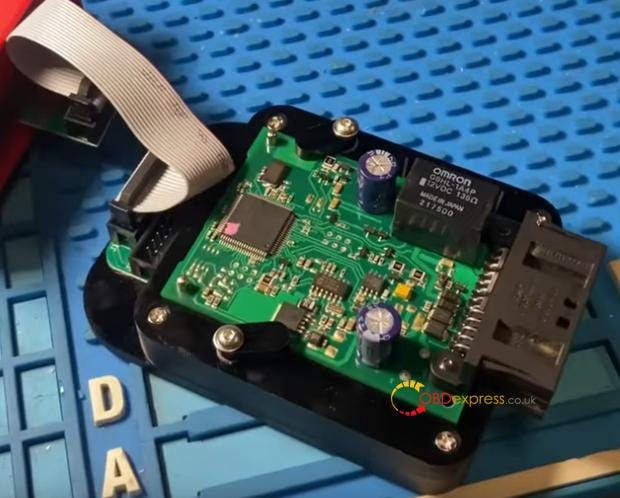
Align the pins and install EWS circuit board on VXSCAN adapter.

AK90 with VXSCAN adapter key programming for BMW EWS4

Connect AK90 to PC via USB cable.


Step 2. Read EWS data

Run AK90 app, and it’ll beep once which means good connection.

Then select “2L86D[Cable]”.

There is no adapter on the diagram, so ignore it and go ahead.

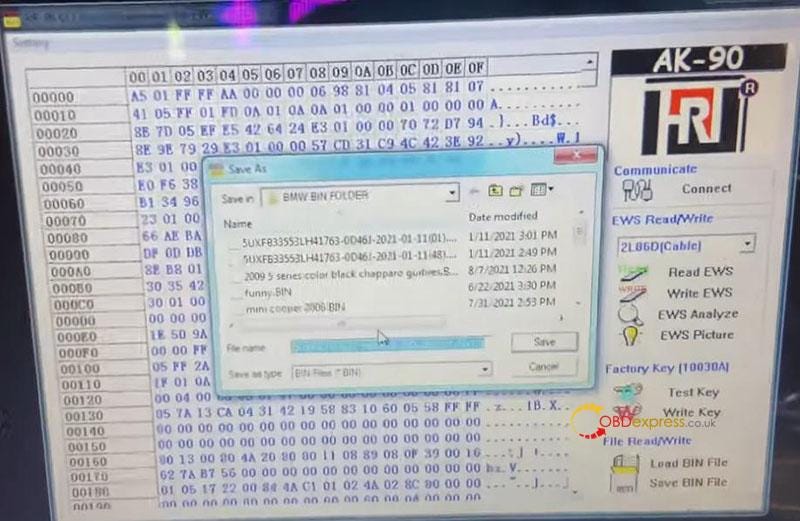
Read and save EWS data. (to make a good connection, have to slight press the circuit board.)

AK90 with VXSCAN adapter key programming for BMW EWS4


Step 3. Write key

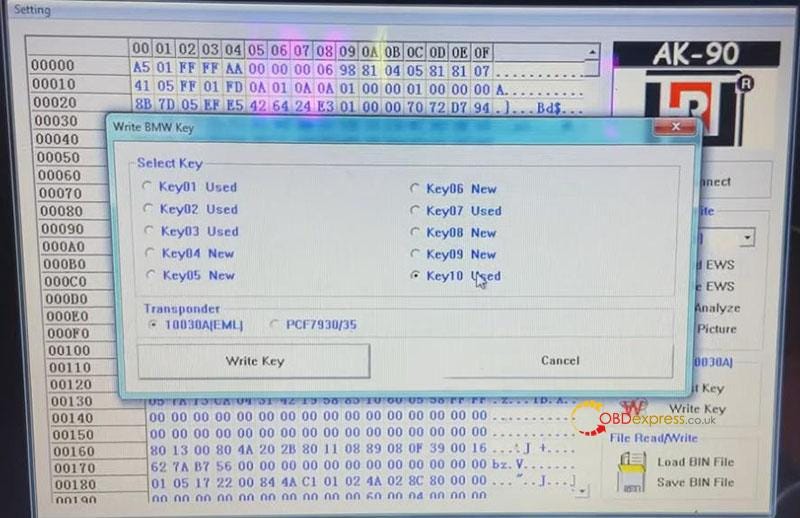
Click on “Write key”.

Select unused key position and transponder type. (If it’s an aftermarket key, select “PCF7930/35”; if it’s an original key, select “10030A[EML]”)

Here are “Key09” and “PCF7930/35”.

AK90 with VXSCAN adapter key programming for BMW EWS4

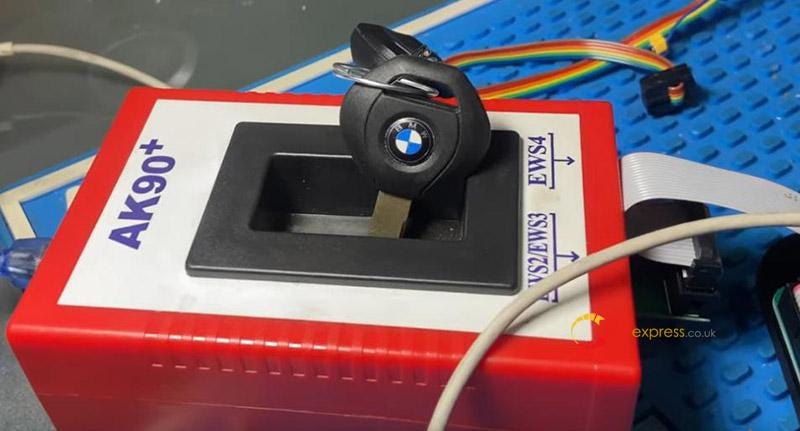
Put a new key into the key slot.

AK90 with VXSCAN adapter key programming for BMW EWS4

When it is done, it will beep once again.

Repeat the process to add the second new key.


Step 4. Verify key

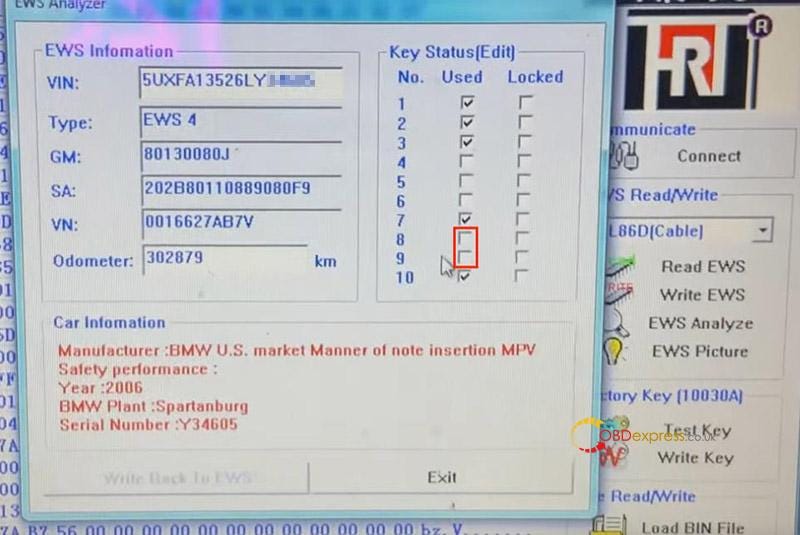
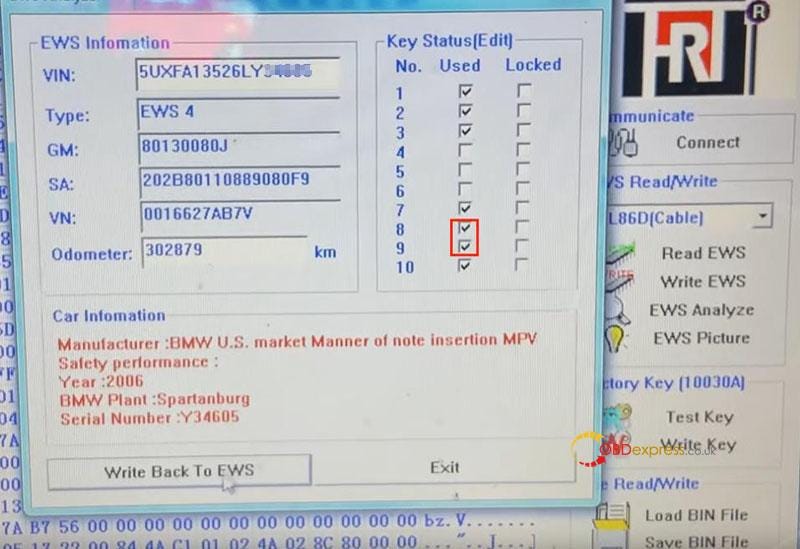
Enter “EWS Analyze”, we can see the key positions we used are still new. (Key 8 & 9).

AK90 with VXSCAN adapter key programming for BMW EWS4

So, we need to write back new EWS data.

Tick “8” and “9”, and click on “Write Back To EWS”.

AK90 with VXSCAN adapter key programming for BMW EWS4

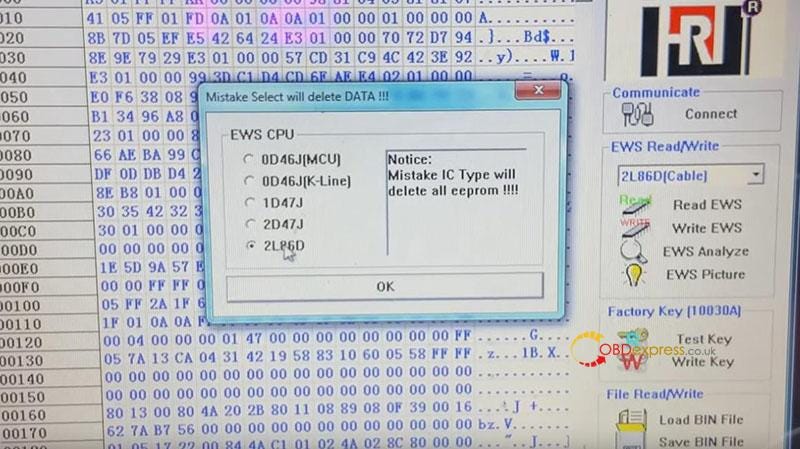
Tick “2L86D”. Must select the correct option.

AK90 with VXSCAN adapter key programming for BMW EWS4

Write data OK.

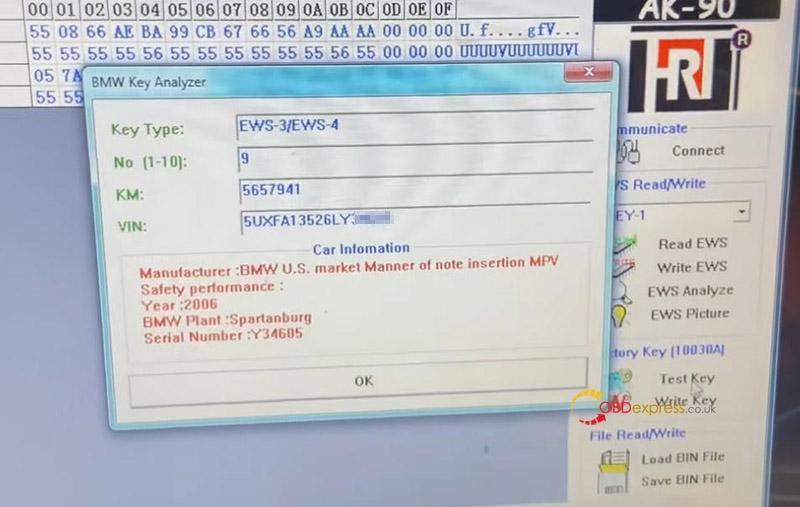
Enter “Test Key” to verify again.

AK90 with VXSCAN adapter key programming for BMW EWS4

All Done!


That’s the process of EWS4 AKL programming by AK90 Programmer and VXSCAN EWS Adapter.

Credits to MY KEYS AUTOMOTIVE.

More info at:

https://www.obdexpress.co.uk/

Thursday, 20 January 2022

Which Tool Can Reset Battery (BRT) for Most Cars?

Question: I need a battery reset tool to work on my car. Which tool can support the most vehicles on the market? How to reset by myself?


obdexpress.co.uk chief engineer gives the suggestion:

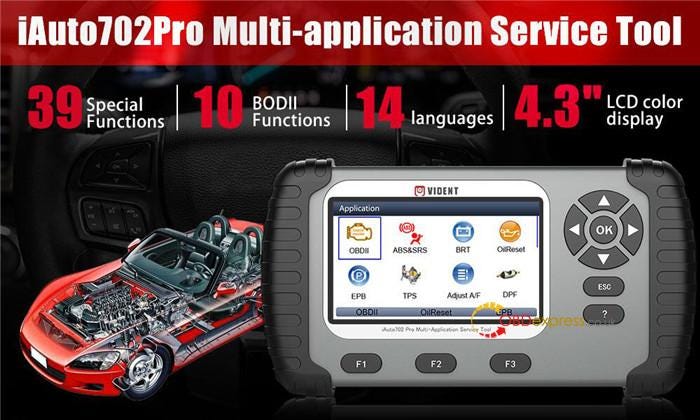
Vident iAuto702 Pro is a good choice.

It’s a powerful multi-application service tool that covers 39 special functions available on over 65 worldwide car makes (to the latest). It supports multi-languages and 3 years free update online via USB port.

Battery tool recommendation (for most car reset attery)

14 Languages supported: English, Spanish, German, French, Portuguese, Swedish, Italian, Simplified Chinese, Traditional Chinese, Russian, Japanese, Korean, Hungarian and Thai

39 special functions:

ž ABS/SRS Diagnosis

ž ABS Bleeding

ž AFS (Adaptive Front Lighting System)

ž Airbag

ž Transmission Adaption

ž Battery Reset

ž Change Tire Size

ž Clutch Adaptation

ž (DPF) Regeneration Of Diesel Particulate Filter

ž EGR(Exhaust-gas recirculation) Adaption

ž EPB (Brake Pad Replacement)

ž Evaporative test

ž Ajuste

ž Adaptive Gearbox

ž Gear Learning

ž Immobilizer Programming

ž Injector Coding

ž Language Change

ž Adjust Odometer

ž Oil Reset

ž (PFP) Prime Fuel Pump

ž SAS (Steering Angle Sensor Reset)

ž Seat Match

ž Sunroof Reset

ž Suspension

ž Transmission Module Oil Life Reset

ž TPMS (Tire Pressure Sensor Reset)

ž TPS (Electronic Throttle Sensor Reset)

ž Turbo

ž Doorwindows Match

ž AdBlue (new)

ž Coolant (new)

ž Hvolbat (new)

ž Motor Angle (new)

ž NOx Reset (new)

ž Power Balance (new)

ž Stopstart (new)

ž Transport (new)

Currently, iAuto702 Pro can do battery reset for some car makes incl. Audi, Bentley, BMW, Bugatti, Chrysler, Citroen, Fiat, Ford, GM, Honda, Hyundai, Infiniti, Jaguar, Kia, Lamborghini, Lancia, Landrover, Lexus (Europe And Other), Lexus (Japan), Lexus (North), Mazda, Mercedes-Benz, Mini, Mitsubishi, Nissan, Opel, Peugeot, Porsche, Renault, Scion, Seat, Skoda, Mitsubishi, Toyota (Europe And Other), Toyota (Japan), Toyota (North America), Volvo, VW

Download the newest 2022 Vident iAuto702 Pro special function list to check the specific car models.


The step-by-step guide to reset battery (BRT):

1. Connect iAuto 702 pro to the OBDII port of the vehicle via the main cable

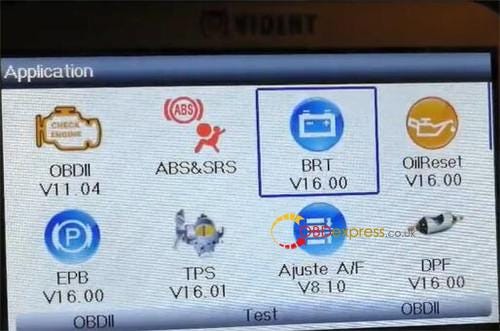
2.Enter Application main menu-> select BRT

Battery tool recommendation (for most car reset attery)

Loading data…

3. Pay attention to the Battery reset instruction:

1).Use the car diagnostic device to reset the car battery monitoring unit to clear original fault information about insufficient battery electric quantity, and match the battery again and monitor battery based on current battery information.

2).Battery matching must be performed in the following cases:

  • Main battery is replaced. Battery matching must be performed to clear original electric quantity insufficiency information and prevent the related control module from detecting false information. If the related control module detects false information, it will invalidate some electric auxiliary functions, such as automatic start&stop function, sunroof without one-key trigger function, power window without automatic function.
  • Battery monitoring sensor. Battery matching is performed to re-match the control module and motoring sensor to detect battery electric quantity use information more accurately, which can avoid the instrument panel displaying false information.

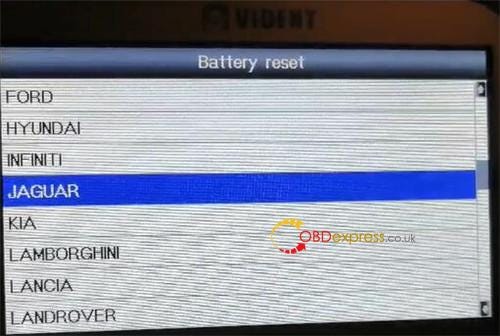
4. Select car make

Battery tool recommendation (for most car reset attery)

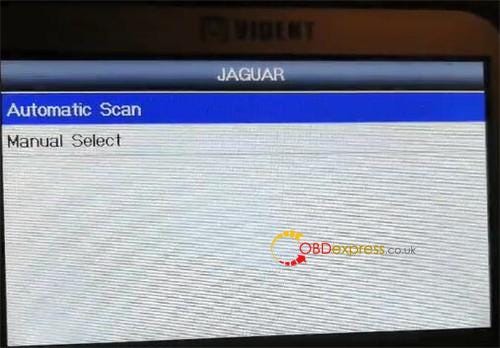
5. Automatic Scan (recommended) or Manual Select

Battery tool recommendation (for most car reset attery)

6. Switch on the ignition

7. Reading the car info…

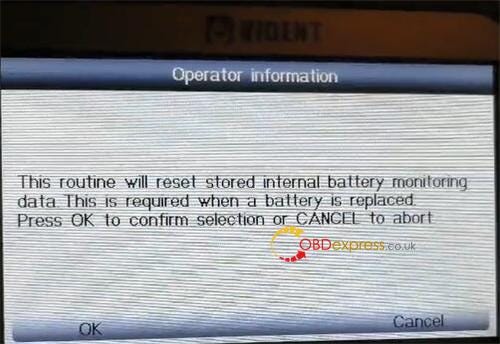
8. A message will appear on the screen “This routine will reset stored internal battery monitoring data. This is required when a battery is replaced. Press OK to confirm the selection or Cancel to abort”.

Just click OK to continue

Battery tool recommendation (for most car reset attery)

9. Set the ignition switch to on (position 2)

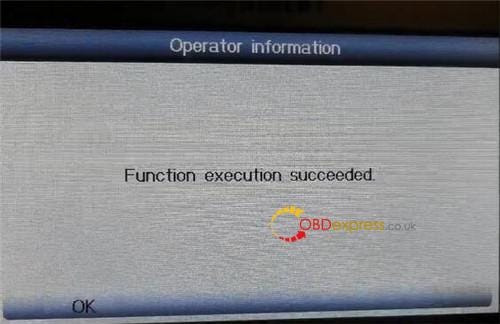
10. Function execution succeeded

Battery tool recommendation (for most car reset attery)

11. Set the ignition switch to off (position 0)

Done!

Here is the available link to buy VIDENT iAuto702Pro (free shipping):

https://www.obdexpress.co.uk/wholesale/vident-iauto-702pro-scan-tool.html

Autel IM608 makes BMW electric windows work again

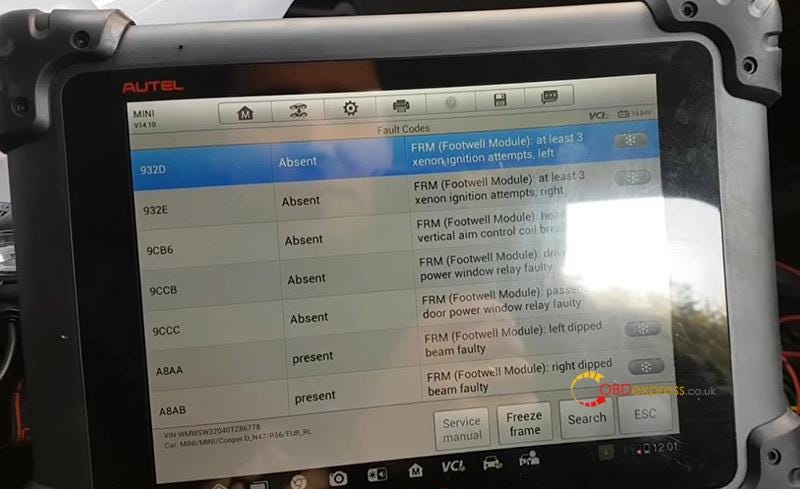
 My BMW/MiniFRM module doesn't respond, and now the electric windows don't work. It's not like previous cars could use hand-operated switches. So I decided to read the EEPROM and rewrite the corrupted data.


Tools used: Autel MaxiIM IM608


FRM Info

Chip: MC9S12XEQ384

Mask: 3M25J


Path

On Autel IM608, go to

Programmer>>Chip (EEPROM,MCU,ECU)>>Chip read & write>>Other>>BMW>>E - SERIES>FRM>XEQ384>RW

Autel IM608 read and rewrite BMW EEPROM corrupted data

Step 1. Read D-FLASH, EEPROM, P-FLASH

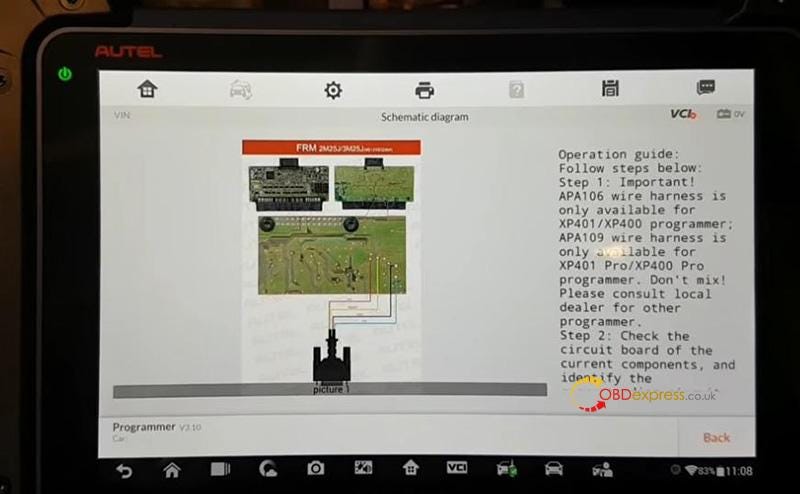
Check "Schematic diagram".

Autel IM608 read and rewrite BMW EEPROM corrupted data

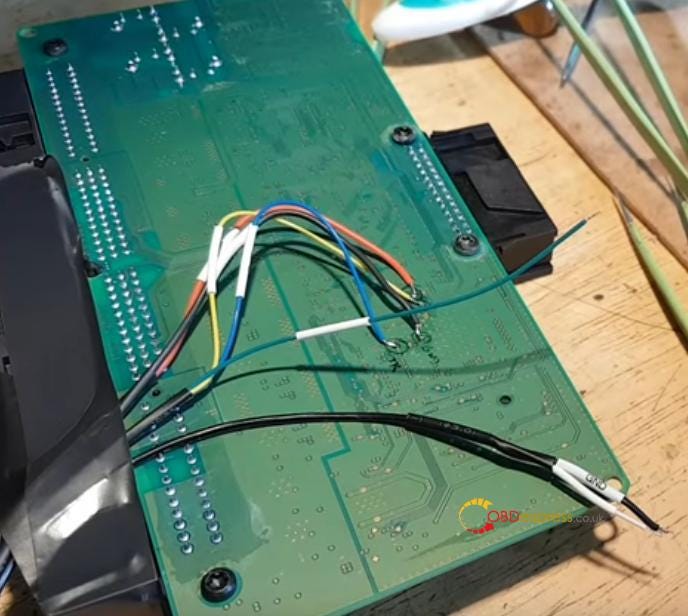
Connect APA109, IM608, XP400Pro and FRM circuit board by diagrams.

Autel IM608 read and rewrite BMW EEPROM corrupted data

Go to “Set” to check if we’ve got 5 voltage, and turn on read/write/earse validation.

Then try to “Read” D-FLASH.

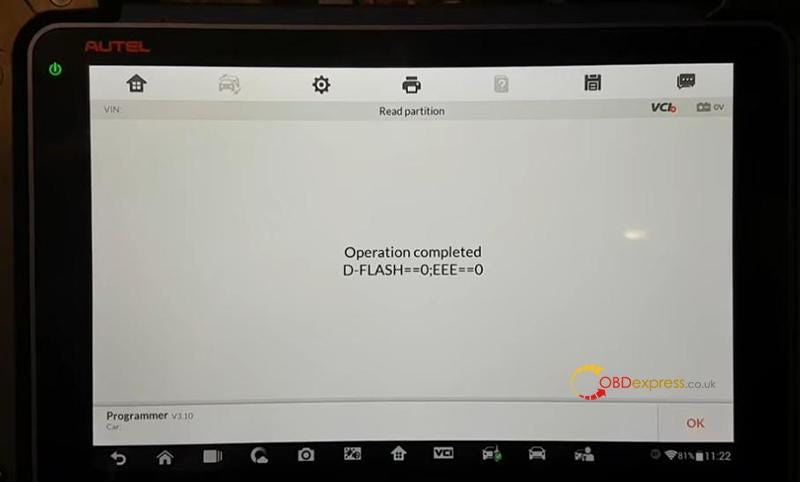
Empty, that’s why it is done.

Read Partition. Also empty.

Autel IM608 read and rewrite BMW EEPROM corrupted data

EEPROM is also empty.

So we just read and save P-FLASH as a backup.

Usually this part is intact.

Autel IM608 read and rewrite BMW EEPROM corrupted data

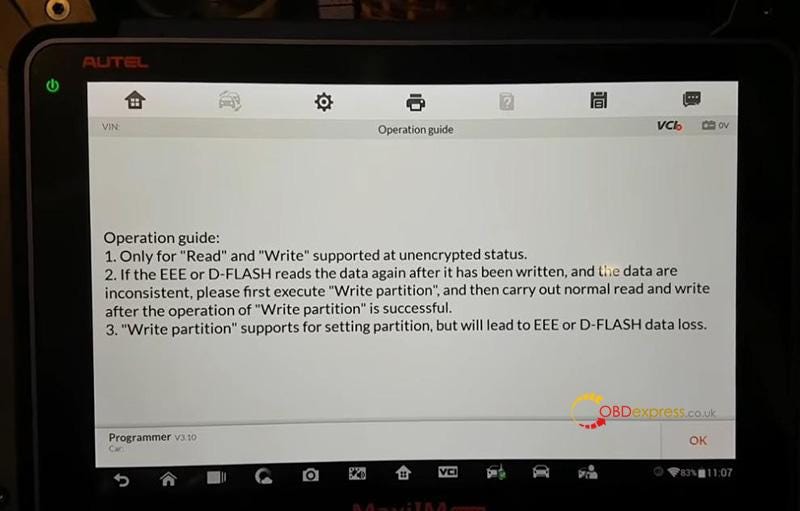
Step 2. Write partition

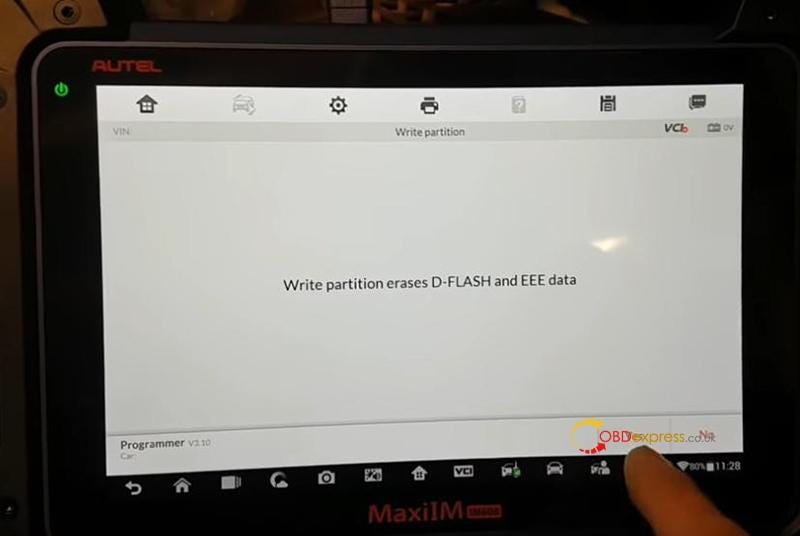
Go to D-FLASH and select “Write partition”. (So we can get a new EEPROM to write data in.)

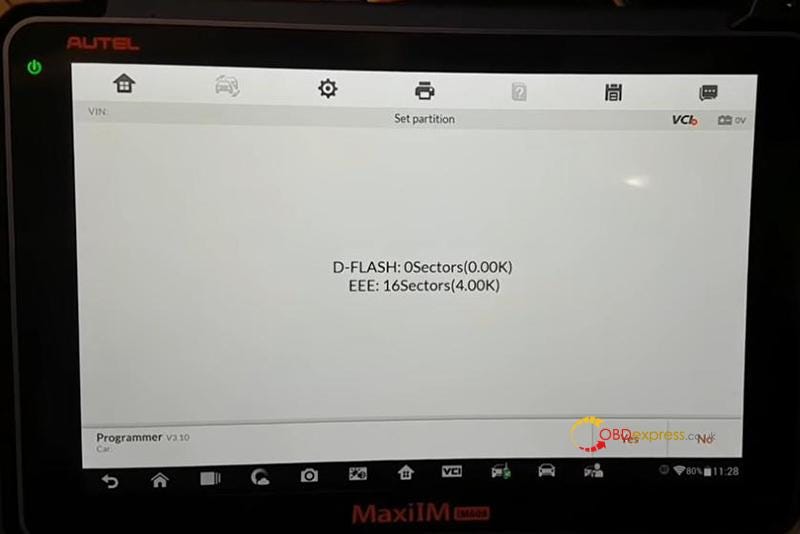
Set EEPROM as 16, which will give you four kilobytes of memory on EEPROM.

Set D-FLASH as 0.

Autel IM608 read and rewrite BMW EEPROM corrupted data Autel IM608 read and rewrite BMW EEPROM corrupted data

Step 3. Write EEPROM back

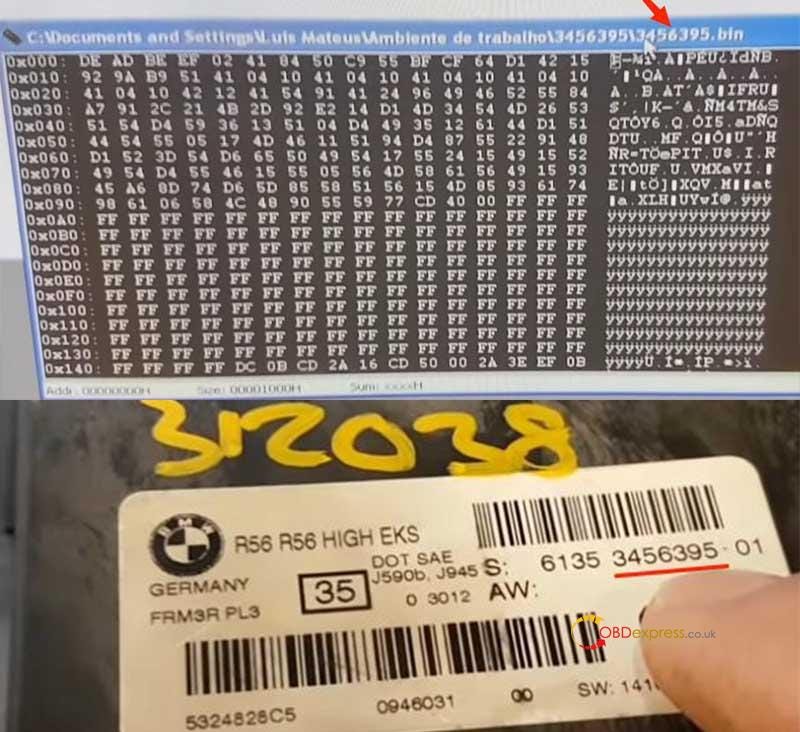
Then I find an EEPROM file with the same part number (3456395) on Google.

Autel IM608 read and rewrite BMW EEPROM corrupted data

Of course this EEPROM belongs to a a different car, VIN…but it allows FRM to boot.

Transfer the data file to IM608 Key Programmer.

Go to “EEE” (EEPROM), and select “Write”.

Load the EEPROM file we just found.

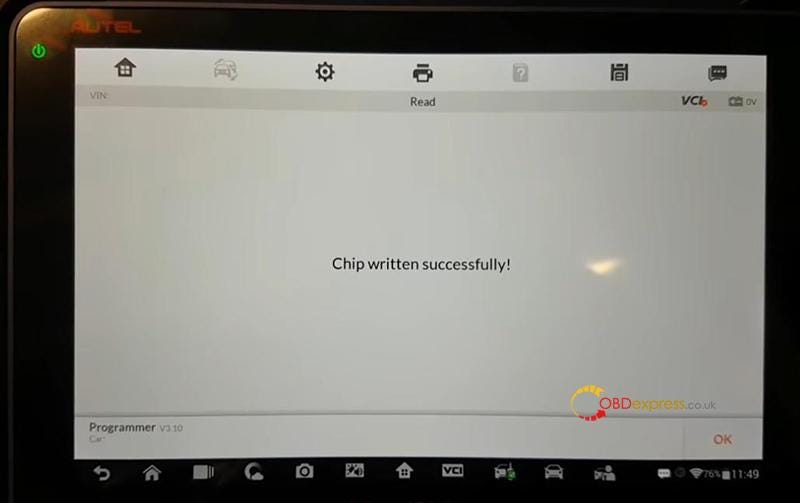
Write successfully.

Autel IM608 read and rewrite BMW EEPROM corrupted data

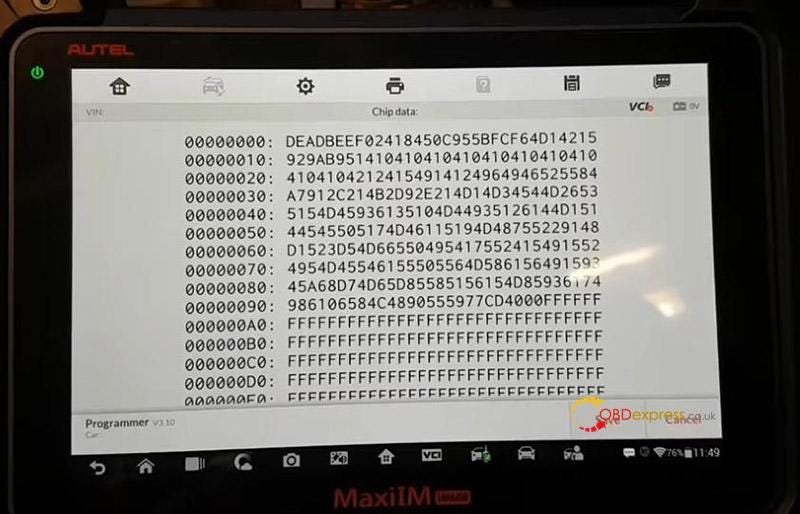
Go back to read D-FLASH and EEPROM.

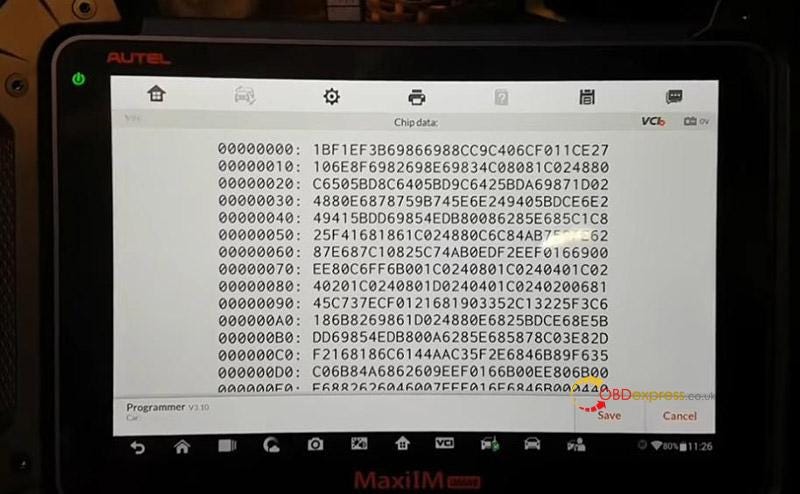
FLASH is also empty, but we have the data in EEPROM.

Autel IM608 read and rewrite BMW EEPROM corrupted data

Step 4 . Check FRM on car

Restore FRM back, and see if it boots well.

Use an Autel Diagnostic Tool to check windows quickly.

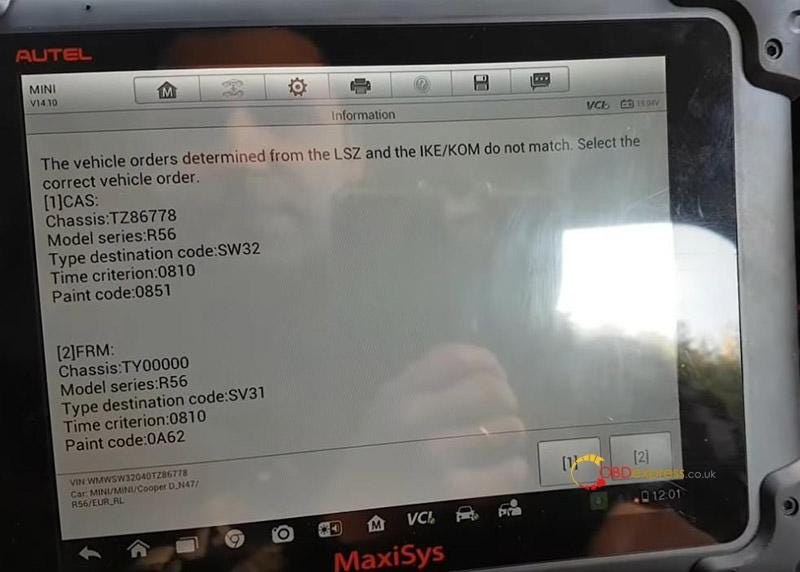
The wrong chassis means our FRM has communications.

Autel IM608 read and rewrite BMW EEPROM corrupted data

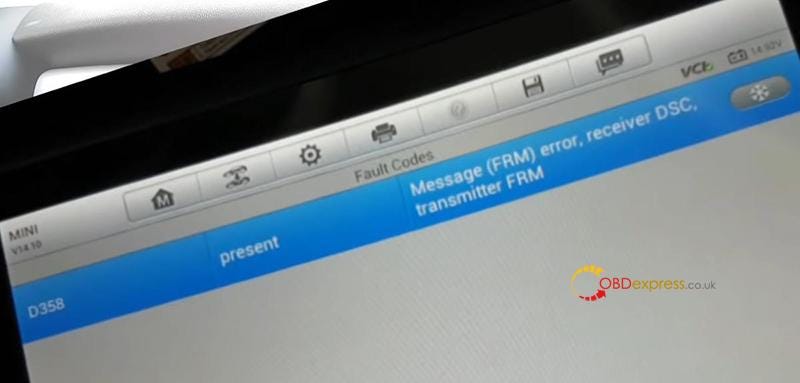
Before we have a DTC about FRM error.

Autel IM608 read and rewrite BMW EEPROM corrupted data

Diagnosis>>Control unit>>Body>>FRM2 (Footwell Module 2)>>Read codes

Now our FRM comes back.

Autel IM608 read and rewrite BMW EEPROM corrupted data

And then the rest work is to program the module the car because it comes from a different car.

Notice: IM608 doesn’t support BMW X1 FRM program.

Credits to LM Auto Repairs.

Hope this could help.


Technical support by: www.obdexpress.co.uk
Autel Maxicom MK808: Erase Check Engine on Nissan
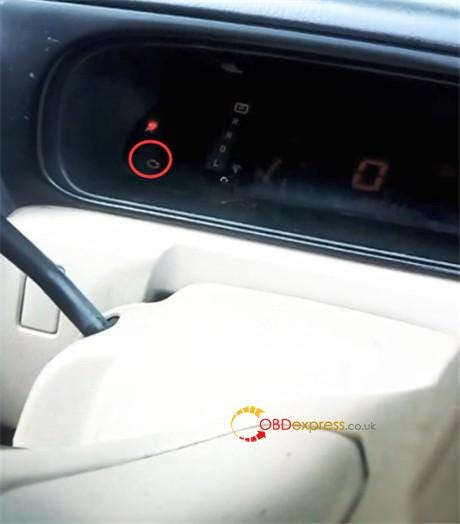
 The check engine warning light displays on my Nissan liberty m12, and I’d like to erase it by using the Autel Maxicom MK808.

Wipe Nissan liberty m12 engine warning light with Autel MK808

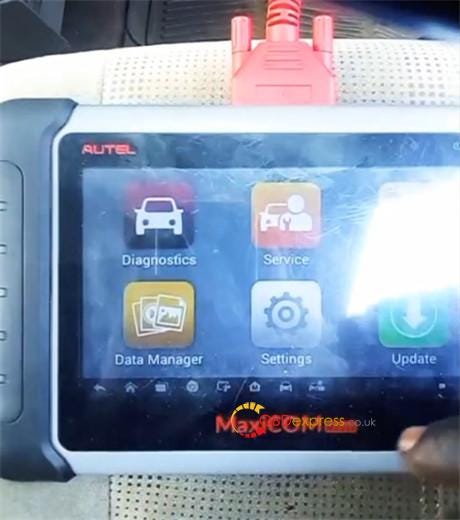
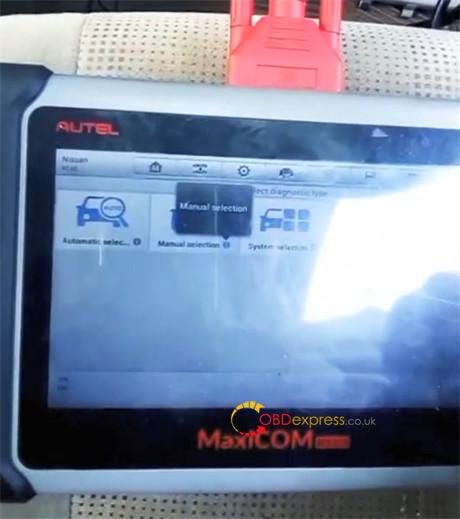
Connect MK808 to the OBD port of the vehicle via the main cable

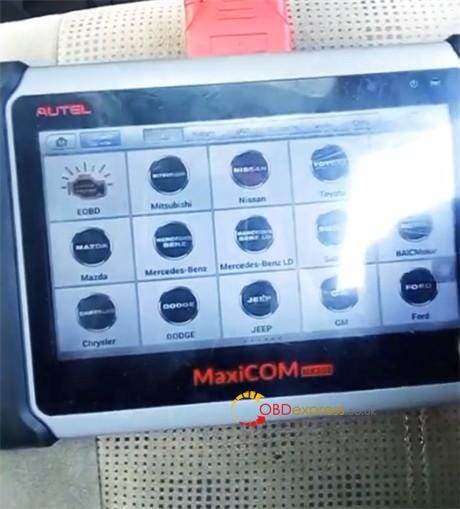
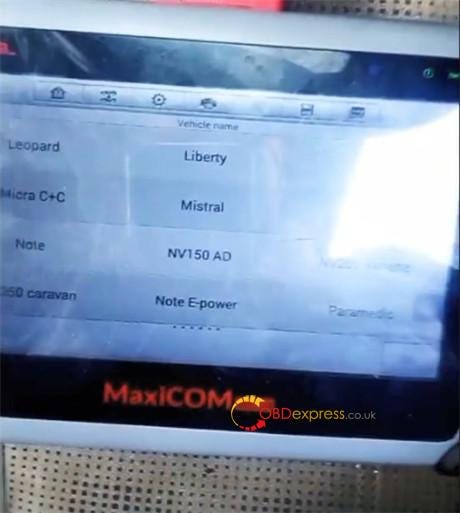
Then select Diagnostics>> Nissan>> Manual selection>> Liberty>> M12>> All

Wipe Nissan liberty m12 engine warning light with Autel MK808 Wipe Nissan liberty m12 engine warning light with Autel MK808 Wipe Nissan liberty m12 engine warning light with Autel MK808 Wipe Nissan liberty m12 engine warning light with Autel MK808

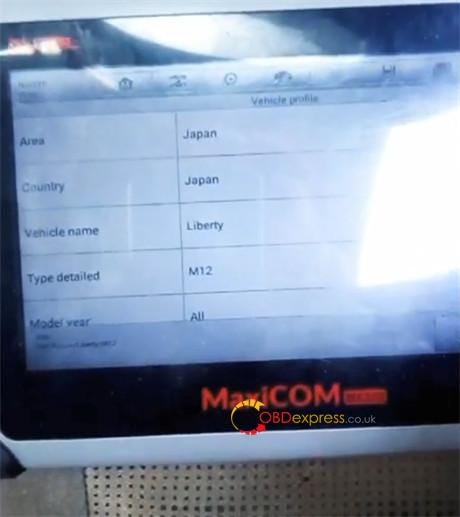
MK808 reads out the vehicle information successfully:

Area: Japan

Country: Japan

Vehicle name: Liberty

Type detailed: M12

Model year: all

Wipe Nissan liberty m12 engine warning light with Autel MK808

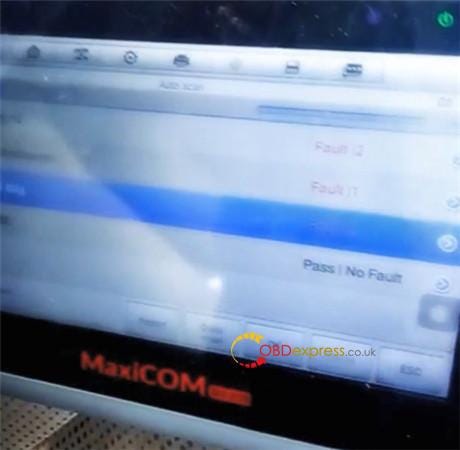
Then select Diagnosis>> Auto scan

It takes approx 1 min to scan all systems- Engine, transmission, Air bag, ABS

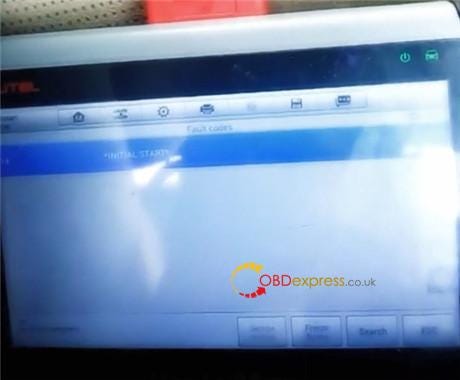
Scan out the faults (sorry for the blurry image)

Wipe Nissan liberty m12 engine warning light with Autel MK808

Read codes

Wipe Nissan liberty m12 engine warning light with Autel MK808

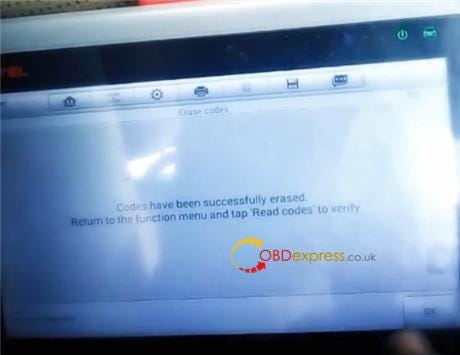
Erase codes

Follow the prompt to turn on the Ignition switch and turn off engine

Clear all fault codes successfully

Wipe Nissan liberty m12 engine warning light with Autel MK808

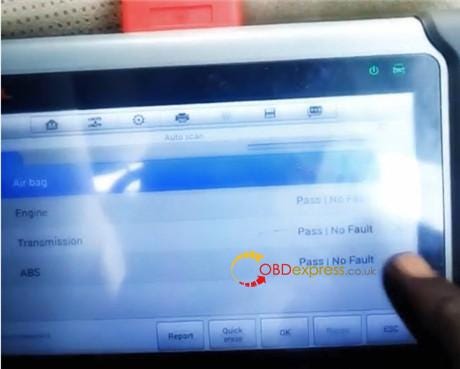
Read codes again

Now there is no any fault.

Wipe Nissan liberty m12 engine warning light with Autel MK808

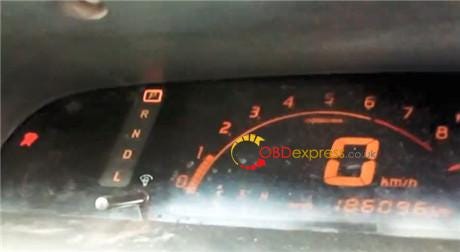
Finally, start the car. The check engine light disappears.

Wipe Nissan liberty m12 engine warning light with Autel MK808

Good job!

Credit to @cartv.

CG FC200 V1.2.5.0 Update: Added GM E83 Read and Write via Boot

 The newest software V1.2.5.0 of CG FC200 ECU Programmer was released on Jan.6th, 2025. Check the related updated details and update your...