Is your OBDSTAR P50, OdoMaster, or iScan (Motorcycle/Marine) device experiencing hardware issues? Whether you are upgrading a cracked screen or replacing a faulty motherboard, this step-by-step tutorial will walk you through the entire teardown and reassembly process.
Preparation & Safety
Before starting, ensure you have a clean workspace and the following tools:
- An electric or manual Phillips-head screwdriver.
- Replacement parts (Display screen, Android mainboard, or VCI board).
- Anti-static wrist strap (optional but recommended).
Step-by-Step Disassembly & Replacement
Example: OBDSTAR motorcycle/iScan Marine series device
Same steps for P50 and ODOMaster tablets
Phase 1: Opening the Device
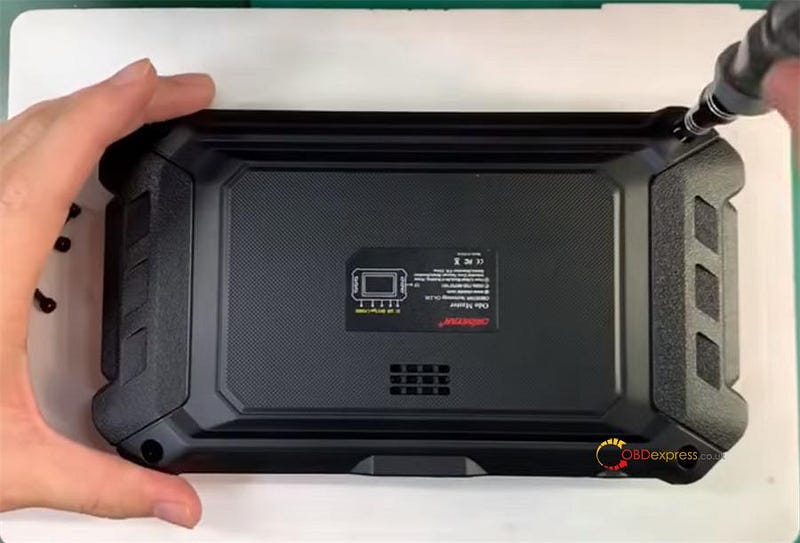
1. Remove the Housing: Use your screwdriver to undo the 4 screws located on the rear casing.
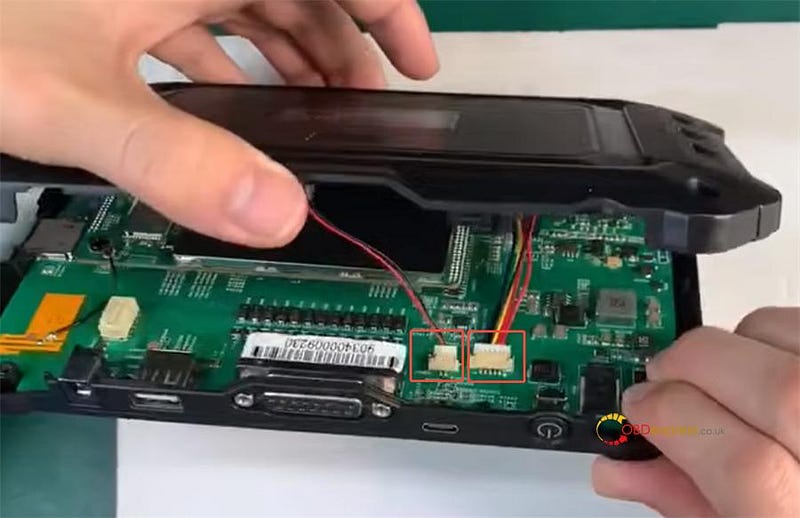
2. Disconnect Internal Components: Gently lift the back cover. Carefully unplug the battery connector and the speaker cable before setting the cover aside.
Phase 2: Removing the Android Motherboard
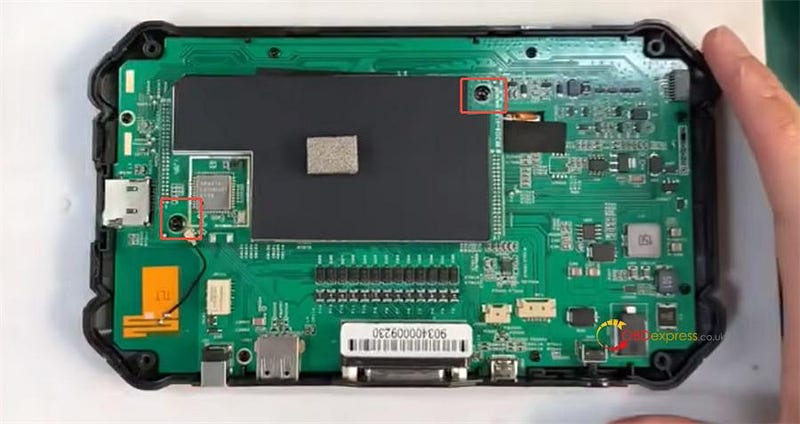
3. Detach Screws & Antenna: Unscrew the 2 retaining screws holding the Android motherboard in place. Manually disconnect the antenna cable.
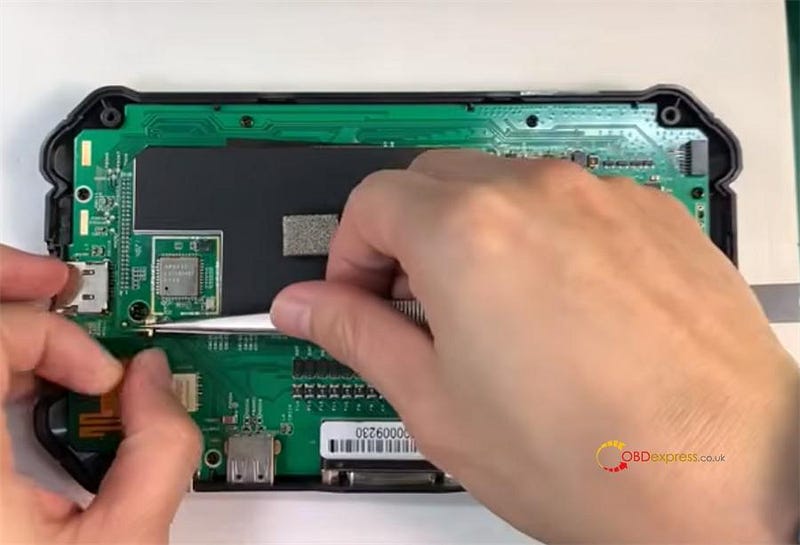
4. Extract the Board: Grip both edges of the Android motherboard firmly and pull it straight up to detach it from the unit.
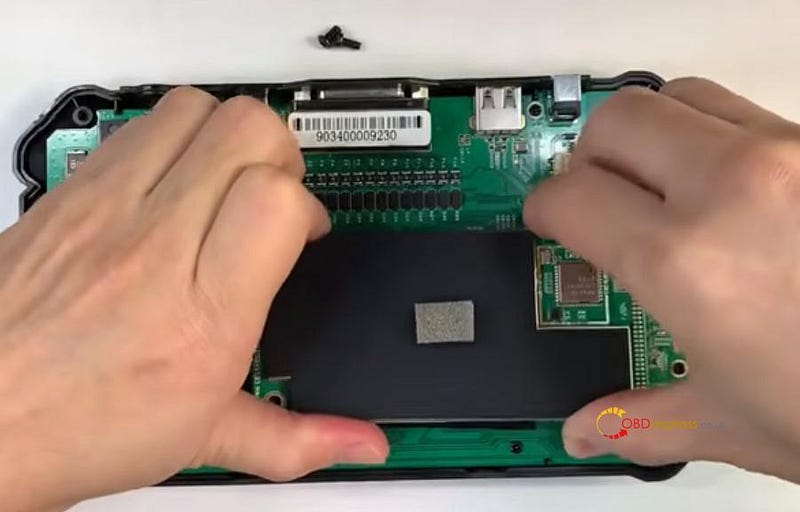
Phase 3: VCI Board and Screen Teardown
5. Prep for Removal: Remove the VCI mainboard’s mounting screws. Peel away the acetate tape covering the touch screen and display ribbon cables.
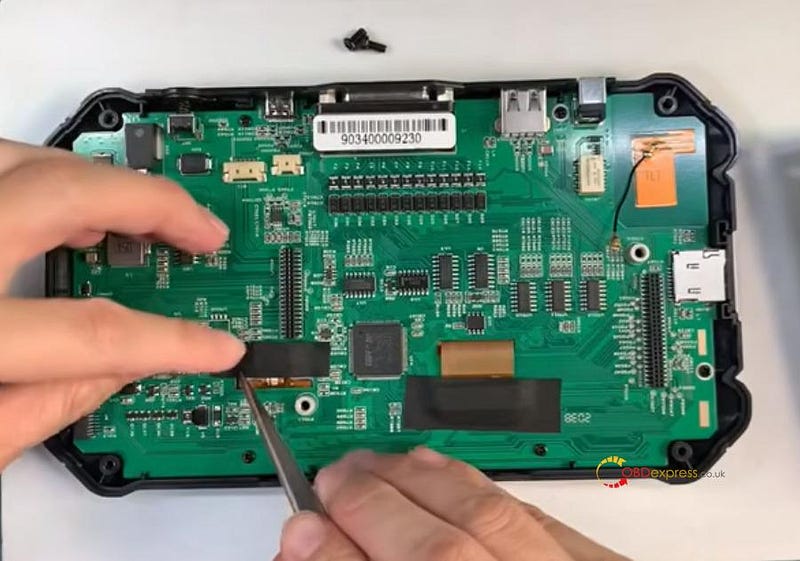
6. Unhinge the VCI Board: Take out the power button. Gently lift the board, flip open the locking clips on the display and touch screen connectors, slide the cables out, and remove the VCI board.
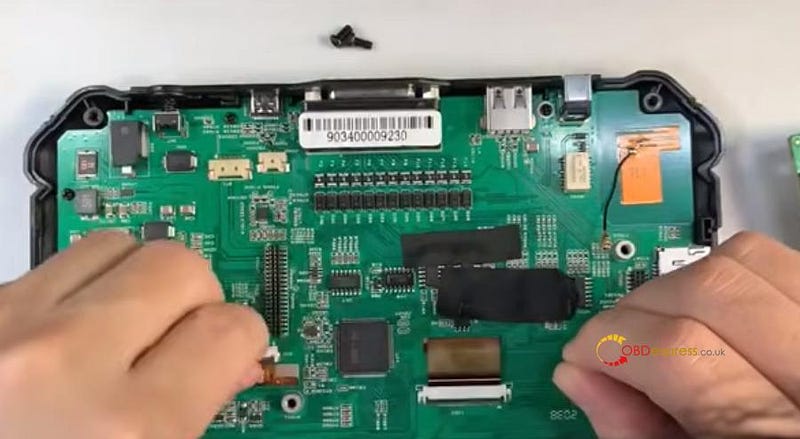
7. Screen Extraction: Remove the remaining acetate tape and the light guide. Release the positioning latches on the display frame and carefully push the screen out.
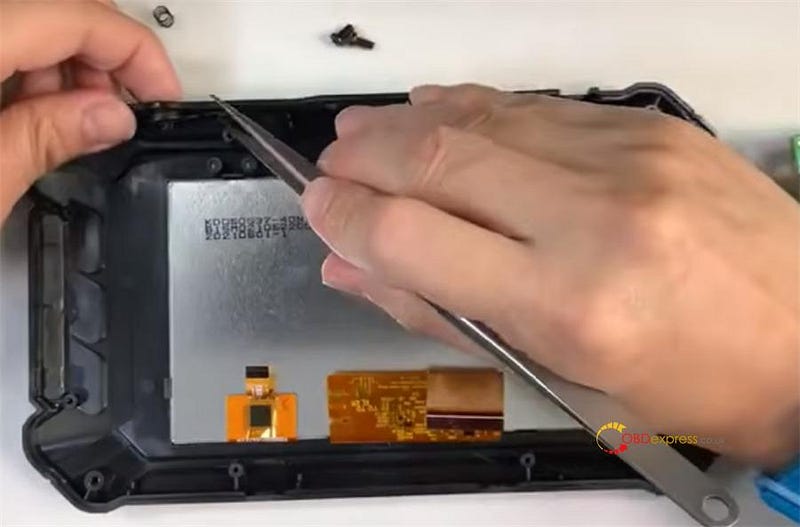
Phase 4: Reassembly & Installation
8. Fit the New Screen: Place the new display into position. Reattach the light guide and secure it with acetate tape.
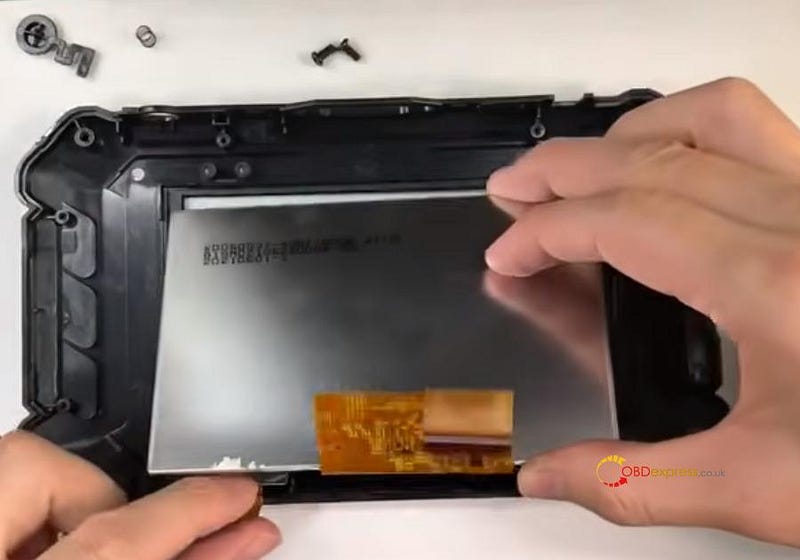
9. Align the VCI Board: Thread the display and touch screen ribbon cables through the slot in the VCI board. Align the board with the screw holes and seat it properly.

10. Secure Components: Reinstall the VCI board screws, the power switch, and reapply the protective tape over the cables.
11. Install Android Board: Press the Android motherboard into its socket on the VCI board. Secure it with screws and reconnect the antenna.
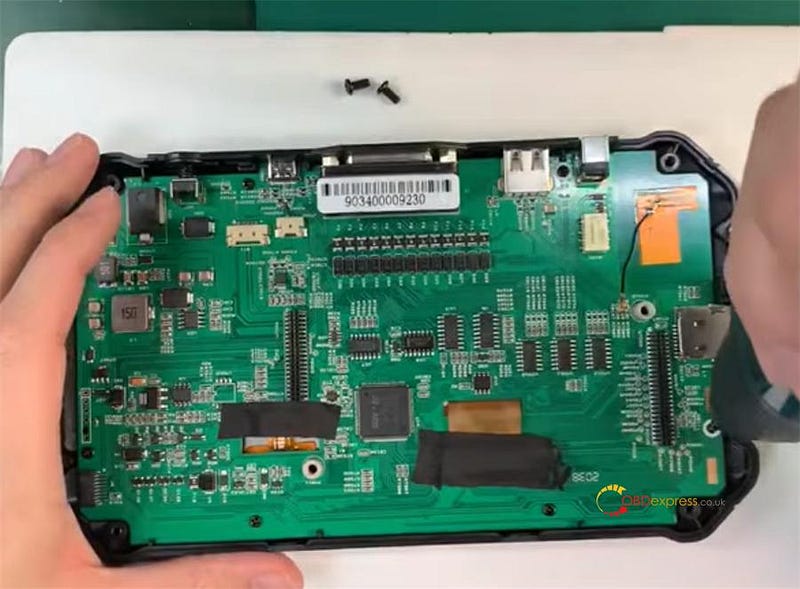
12. Final Connections: Reattach the speaker and battery cables. Snap the back cover back into place.
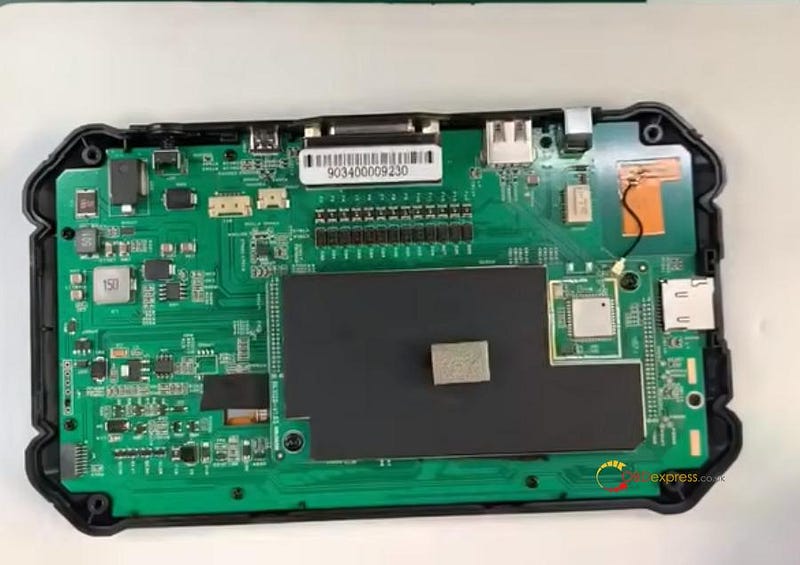
13. Seal the Device: Replace and tighten the 4 rear screws.
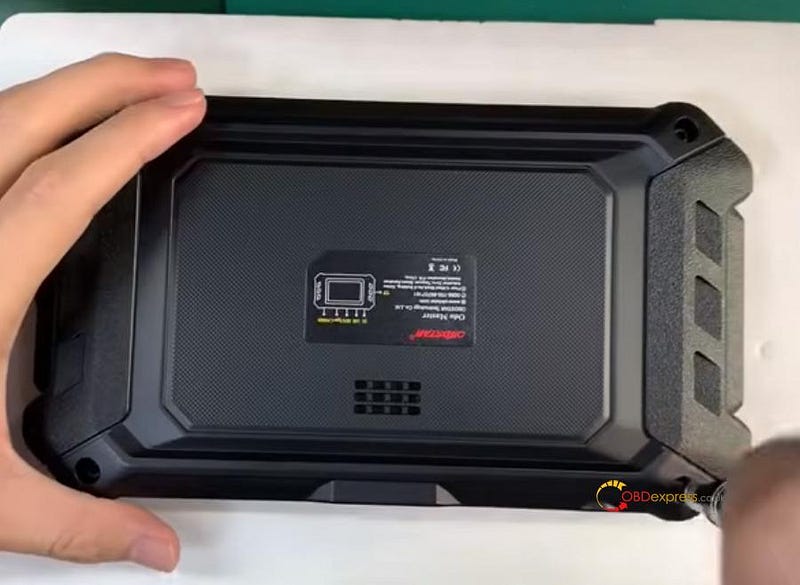
Critical Technical Notes
! Post-Replacement Support:
Android Board: If the device fails to boot or behaves erratically after replacement, contact after-sales support with your Serial Number (SN).
Display: If the screen shows artifacts or abnormal colors, provide your SN to technical support.
VCI Board: Replacing this requires account synchronization. You must contact your dealer and provide the Serial Numbers of both the old and new VCI boards.
Troubleshooting: My Device Won’t Turn On
If your scanner remains unresponsive even when plugged in, follow this diagnostic flow:
Scenario A: The Power Indicator is ON (Red)
- Cause: The battery is likely deep-discharged.
- Solution: Charge for at least 30 minutes. If it powers on, let it reach a full charge.
- Further Testing: If it still won’t start, open the device and unplug the battery. Attempt to power it on using only the AC adapter.
Starts up? The battery is dead; replace it.
Won’t start? The Android motherboard is likely faulty.
Scenario B: No Indicator Lights (Completely Dark)
1.Test the Power Source: Switch to an OBD main cable and connect the device to a vehicle’s DLC port.
Indicator turns on? Your AC power adapter is broken; replace it.
2.Internal Hardware Failure: If there is still no response via vehicle power:
- Priority 1: Replace the Android Mainboard.
- Priority 2: If a new Android board doesn’t fix it, replace the VCI Mainboard.


No comments:
Post a Comment