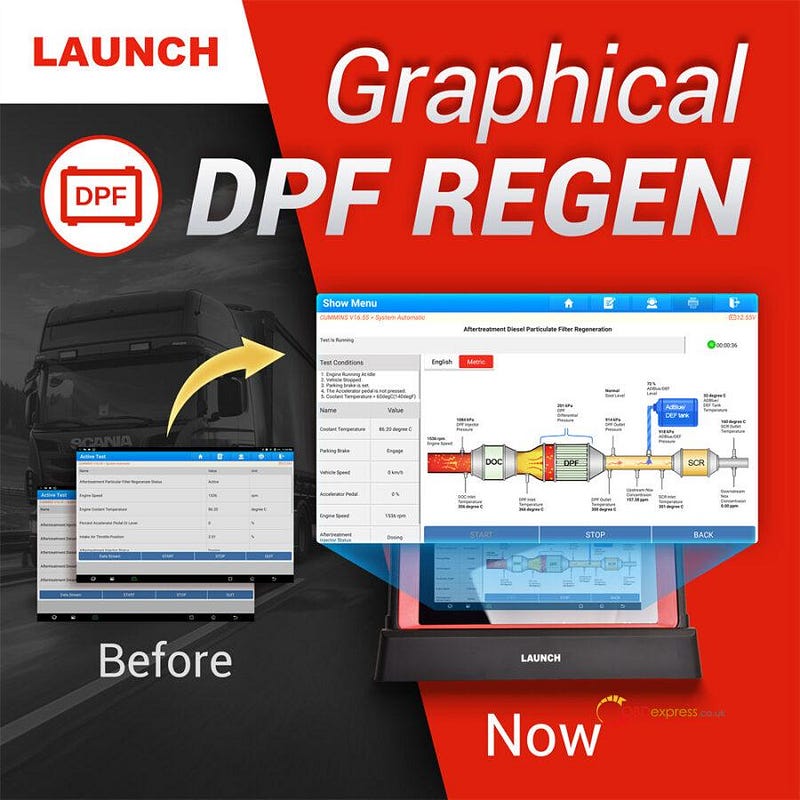
LAUNCH X431 released a new graphical interface upgrade for DPF regeneration on LAUNCH diagnostic tablets to replace the previous text-based display. This significant upgrade empowers technicians to monitor critical data in real time with enhanced clarity and ease, ensuring the Diesel Particulate Filter operates at peak efficiency. The regeneration process typically takes about 30 minutes, and the new interface allows instant access to key metrics such as speed, temperature, and pressure related to the exhaust aftertreatment system.
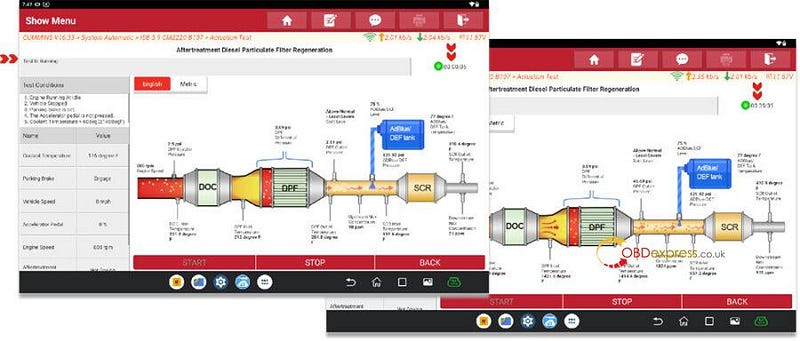
Text-based UI (old) vs. graphical UI (new) for the DPF Regen process on a commercial vehicle (CUMMINS):
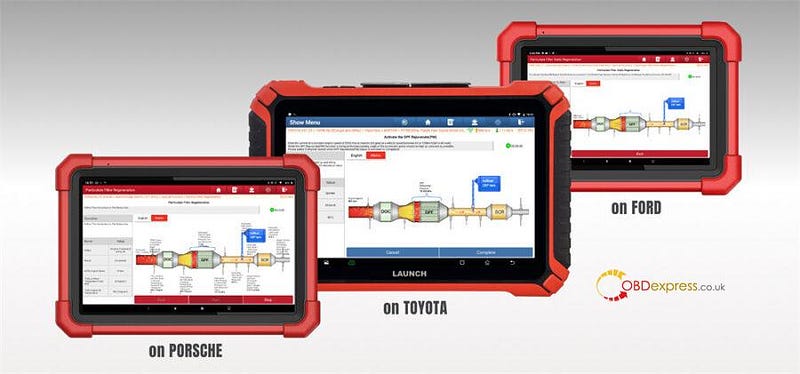
The graphical DPF Regen process running on passenger cars (PORSCHE/TOYOTA/FORD):
Which Launch X431 Diagnostic Tool have DPF Regen graphical UI?
Currently, the X431 PAD5 LINK HD and X431 PRO3 LINK HD scan tools support the DPF Regen feature in a graphical format for almost all commercial vehicles. Additionally, several mainstream passenger cars are supported with graphical DPF Regen on the following X-431 diagnostic tools, including:
- X431 PAD9 LINK
- X431 PAD7 LINK (X431 PAD VII Elite)
- X431 PAD5 LINK (X431 PAD V Elite)
- X431 PRO3 LINK
- X431 PRO3 SE
- X431 PRO SE
- X431 PRO SE LITE
In addition, some CRP/CRE scanners also support DPF Regen.
Including:
- Creader Professional 919S (359)
- Creader Professional 919S Lite (349)
- Creader 909S (349)
- Creader 129S (239)
- Creader 123S (233)
- Creader Elite X and more
How to perform DPF Regen on LAUNCH X431 Tool?
e.g. CUMMINS
STEP 1: Enter the software first
Path 1: Enter by Vehicle Diagnostic Software
Path 2: Select Service Function>> DPF REGEN
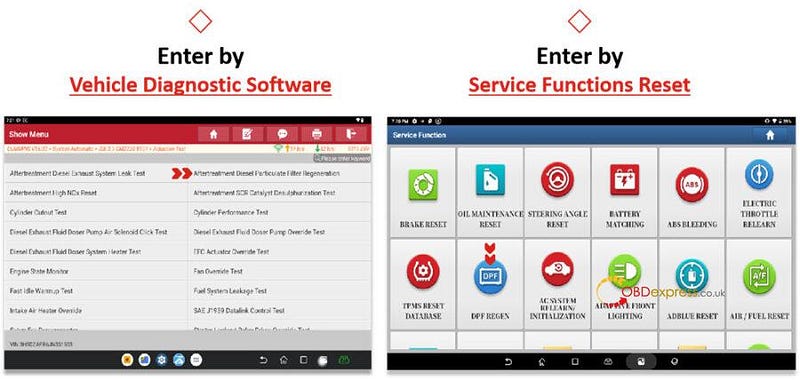
Here takes path 1 as an example.
STEP 2: Enter the CUMMINS diagnostic software and select "System Automatic".
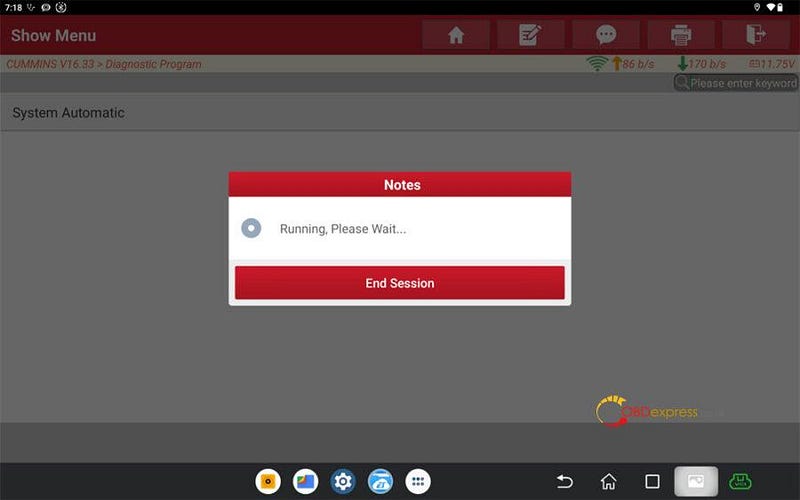
STEP 3: Select Actuation Test >> Aftertreatment Diesel Particulate Filter Regeneration to start the process.
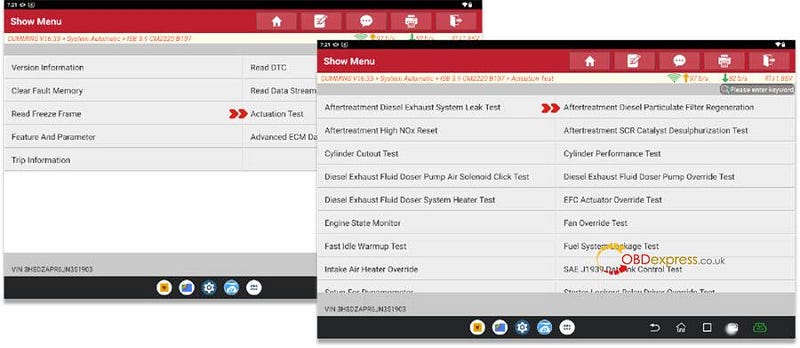
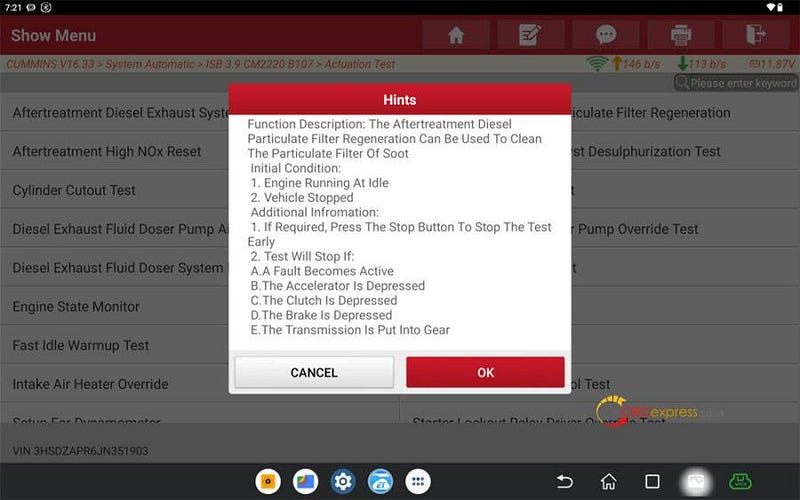
STEP 4: Pay attention to the conditions for function execution and possible completion scenarios
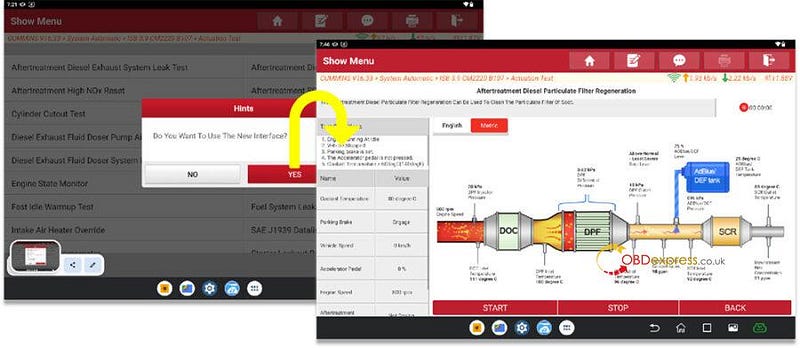
STEP 5: Click "YES" for the new graphical interface and "NO" for the old interface.
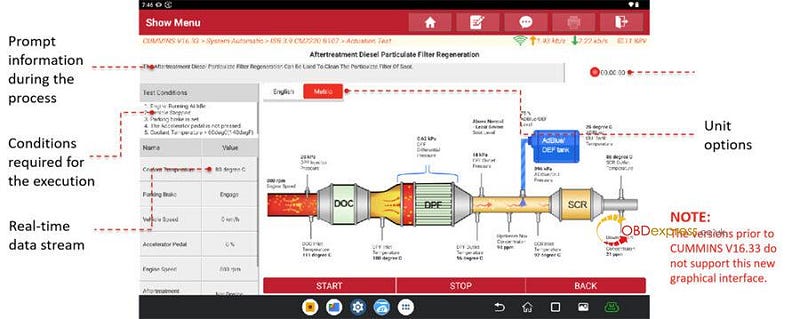
STEP 6: Main part for various components real-time data streams during execution.
STEP 7: Press "START" button and read the terms for consideration.
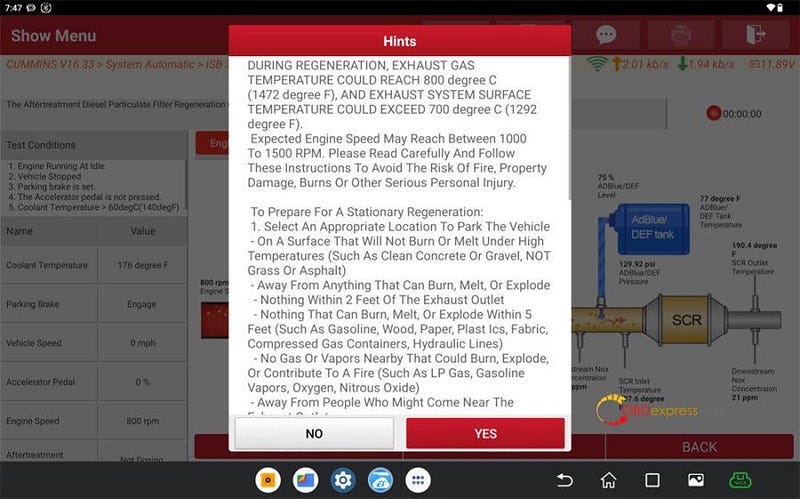
STEP 8: Test is running and timing also starts.
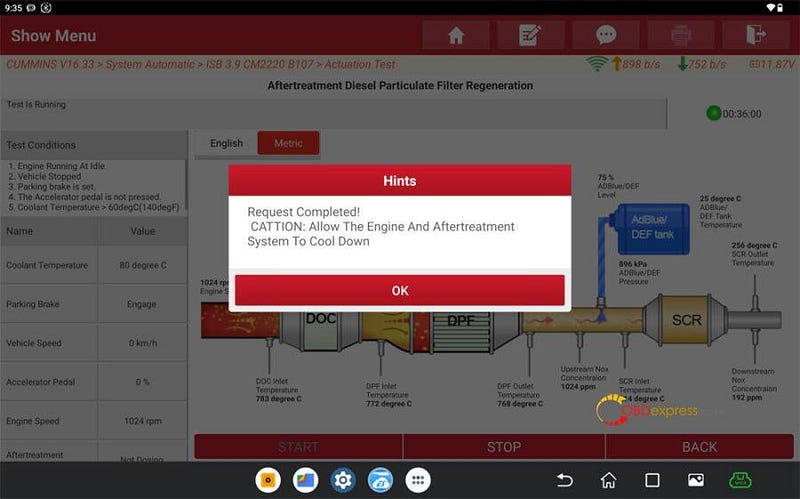
STEP 9: Wait a while until the process is completed!


No comments:
Post a Comment