Traditionally, initializing chips like SPC560B60L3 requires replacing the chip, soldering wires, connecting it to a reader, and then writing the initialization data.
With KEYDIY SPC560B60L3 Chip Programming Socket, you can skip the soldering process entirely.
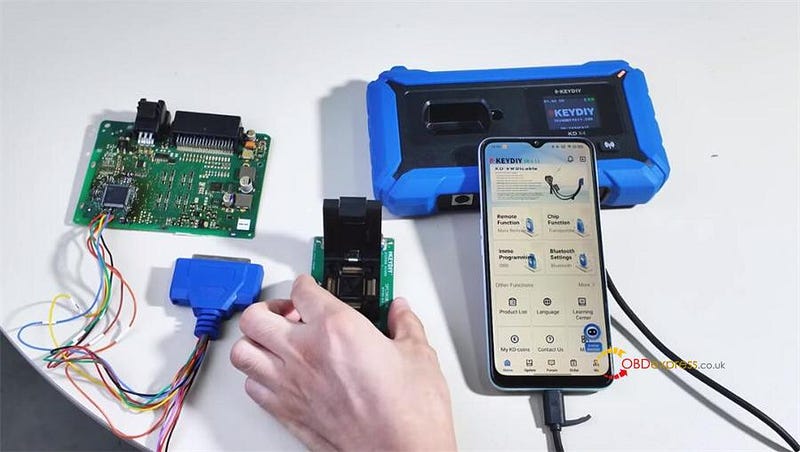
It works with KD-X4 key programmer, making the job faster and solder-free — so you save time and avoid extra wiring.
Step-by-Step Instructions:
Step 1: Place chip
Take a new SPC560B60L3 chip and align it correctly in KEYDIY Programming Socket.
Match the "Pin 1" indicator on the socket with Pin 1 on the chip.
Gently place the chip into the socket.

Step 2: Close lid
Securely close the socket lid after the chip is properly seated.
Step 3: Connect to KD-X4
Use the pre-connected OTG cable to plug the socket into KEYDIY KD-X4 key programmer
Step 4: Write Initialization Data
Go to Immo programming menu on KD-X4 device
Select KD-X4/KD Prog mini → Write File → Write JTAG (SPCXXXX) Chip → RFA Write Initialization Data-> J9C3-RFA_SECURE (SPC560B60L3)


Begin the writing process
Step 5: Completion
After the writing is completed, remove the chip from KEYDIY SPC560B60L3 programming socket.
Solder the chip onto the circuit board as usual.
It is now ready to be installed in the vehicle for the next steps.

Done!
Read also:
http://blog.obdexpress.co.uk/2025/09/04/keydiy-spc560b60l3-chip-socket-for-jlr-kvm-rfa-module/


No comments:
Post a Comment