OBDEXPRESS.CO.UK has released three SUMMARY POWERJET Injector Cleaner& Testers: PRO 260, PRO 240 and GDI S4. PRO 260 is mainly designed for 110V/ 220V Petrol Vehicles Motorcycle 6-Cylinder, while other two fuel cleaners are both for 220V Petrol Vehicles Motorcycle 4-Cylinder.
All of them support all kinds of injectors cleaning and testing incl. low resistance injector (1–2Ω), Top-feed, Side-feed, GM TBI and Votec injector. S4 also supports GDI gasoline fuel injector.
SUMMARY PowerJET GDI S4 vs. SUMMARY PowerJET Pro 240 vs. SUMMARY PowerJET Pro 260:
The fuel injectors supported:
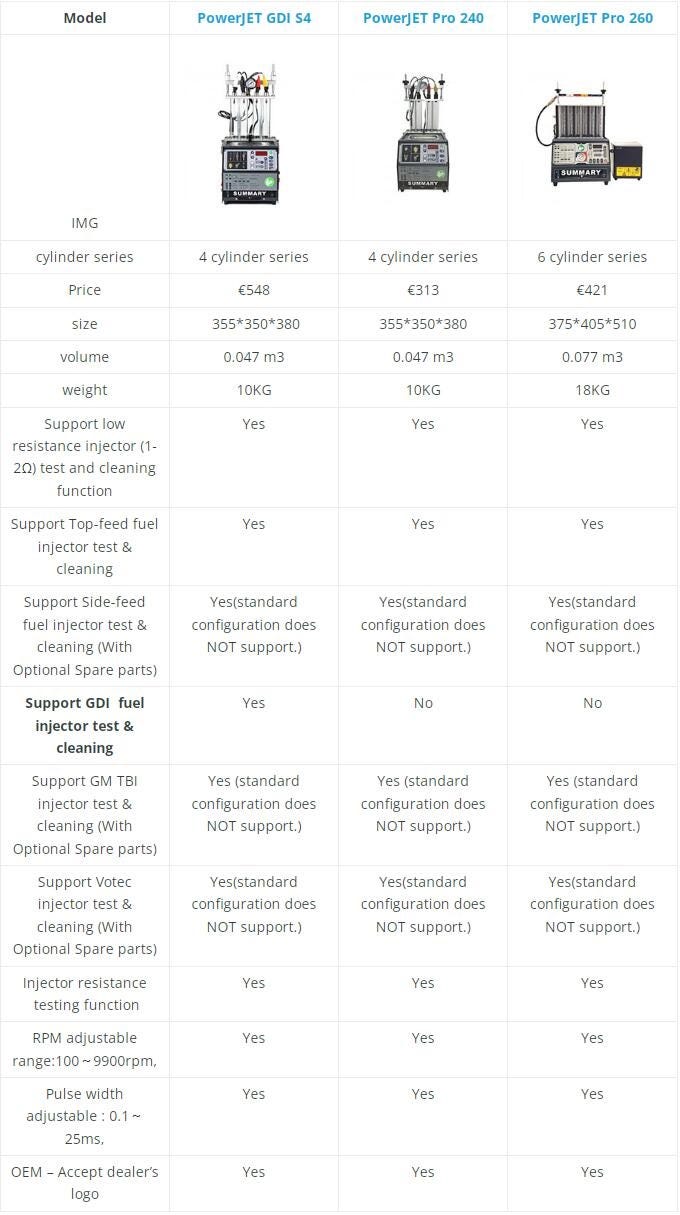
- Votec injector:
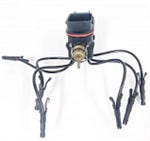
- Top-feed fuel injector:
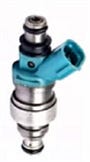
- Side-feed fuel injector:
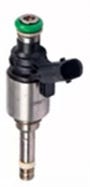
- GDI fuel injector:
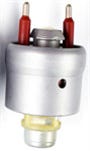
- GM TBI injector:
How to use Summary Fuel Cleaner & Tester?
It’s easy to use. Here just share the guide to clean and test fuel injector by Summary GDI S4 and Pro 240 Injector Cleaner Tester. (The operation steps are the same).
1.Steps to test fuel injector:
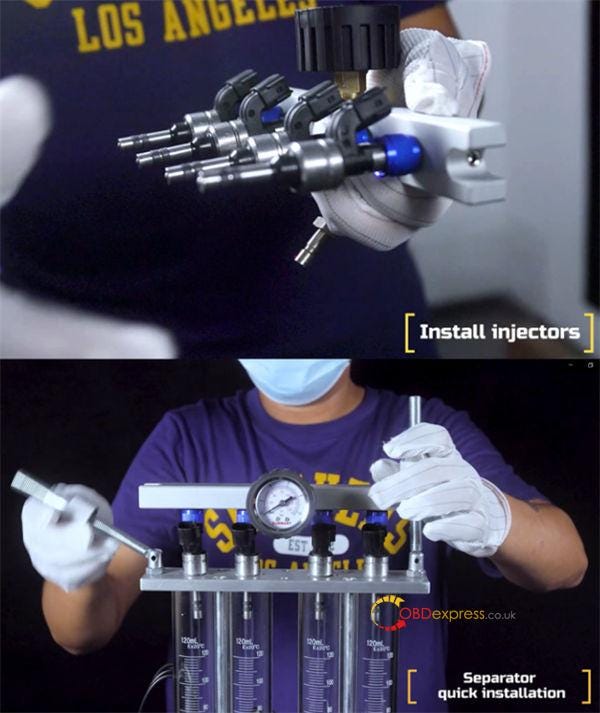
Step 1: Install the fuel injector to the fuel separator one by one
Step 2: Install the fuel separator on the PRO 240 or GDI S4 and secure it quickly with nuts
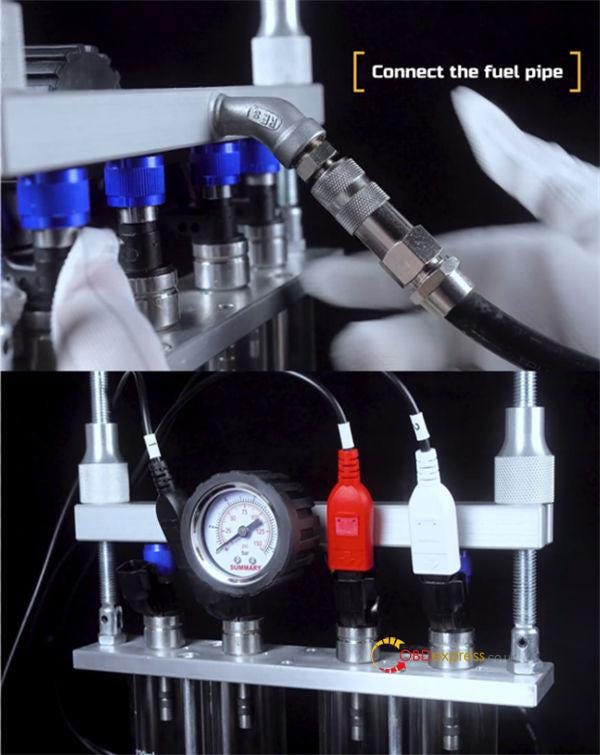
Step 3: Connect the fuel pipe
Step 4: Connect Pulse signal cable
Step 5: Insert the 220V power supply
Step 6: Open the refueling cover and add the detection solution
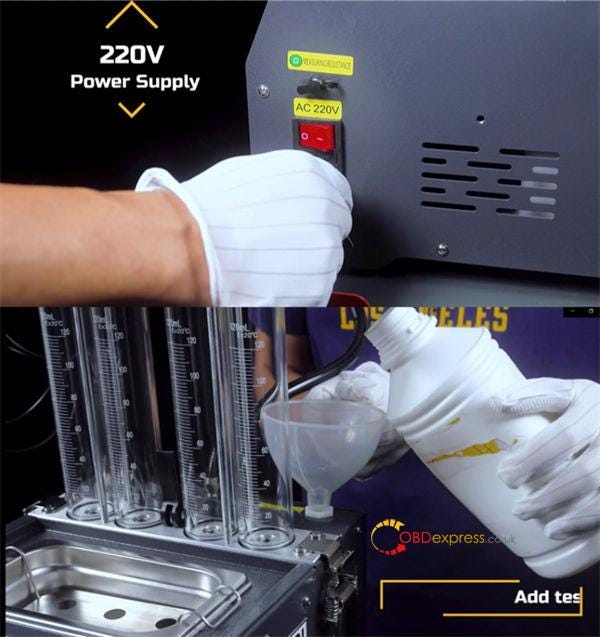
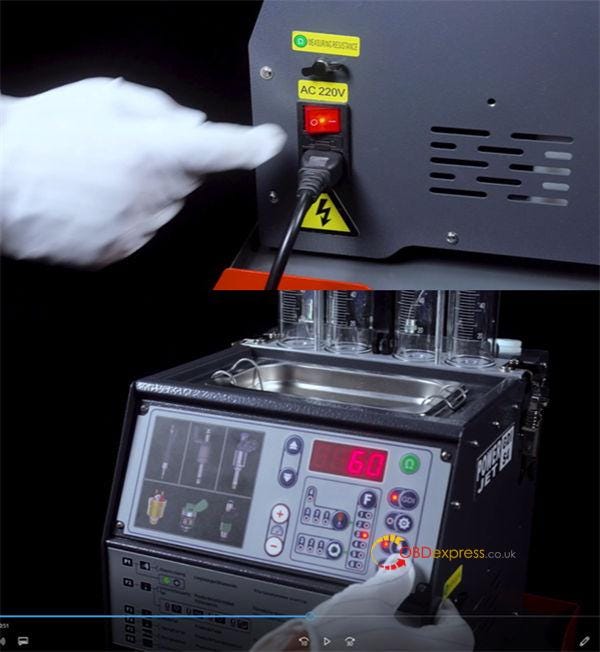
Step 7: Turn on the AC 220V power switch
Step 8: Press the Start button to detect.
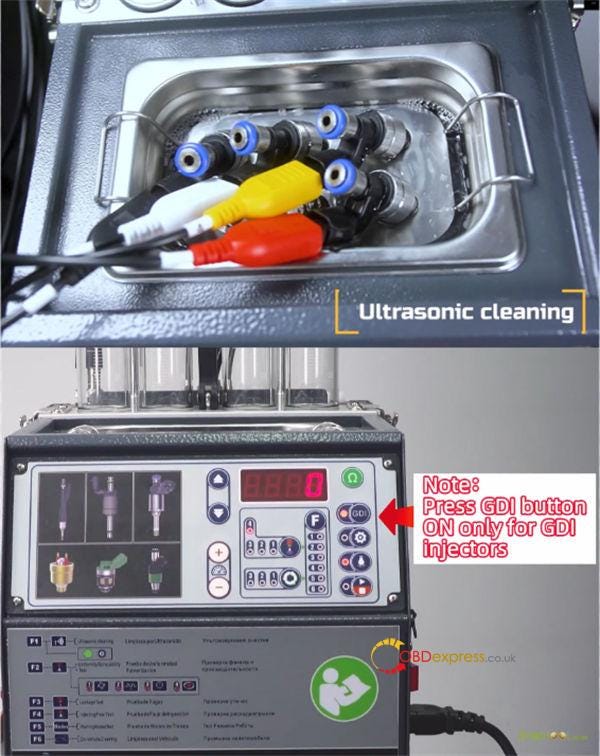
2.Steps to clean fuel injector:
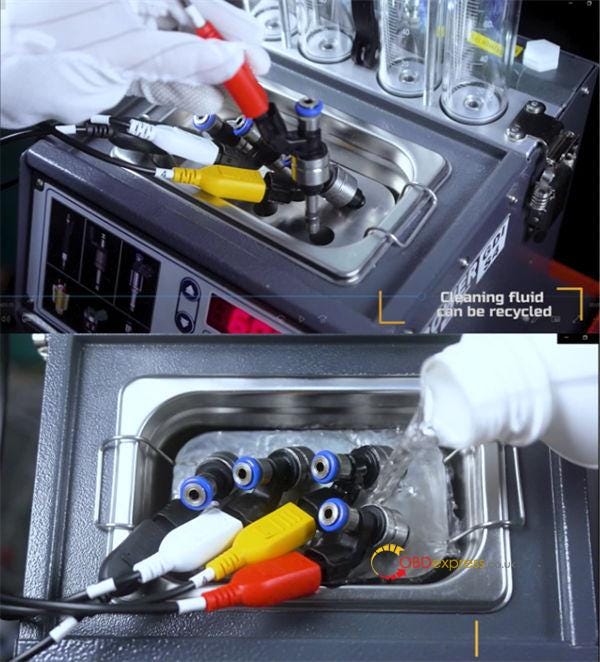
Step 1: Insert the fuel injector into the pulse signal line and put it into the ultrasonic cleaning pool one by one.
Step 2: Pour an appropriate amount of cleaning solution, so that the lower part of the fuel injector is immersed in the cleaning solution.
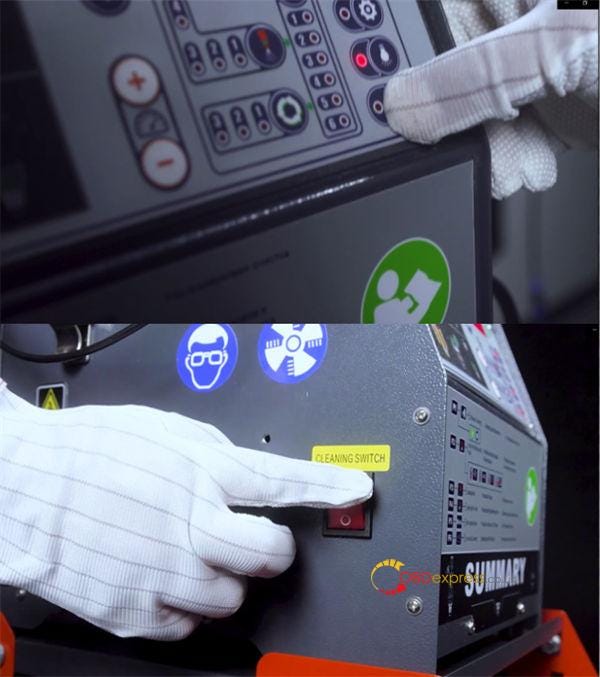
Step 3: Press the Start button (F1 mode)
Step 4: Turn on the cleaning switch of PRO 240 or GDI S4
Step 5: Now it’s ultrasonic cleaning.
Note: Press GDI button ON only for GDI injectors.
In a word, Summary POWERJET Injector Cleaner& Testers are good choices less than €600 with high quality on the market.


No comments:
Post a Comment