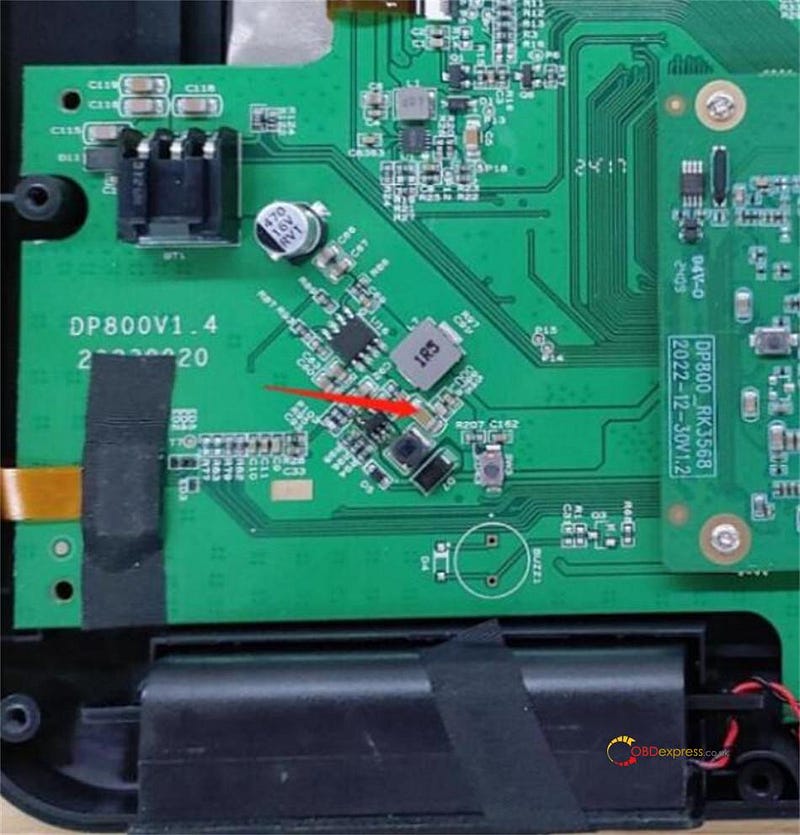
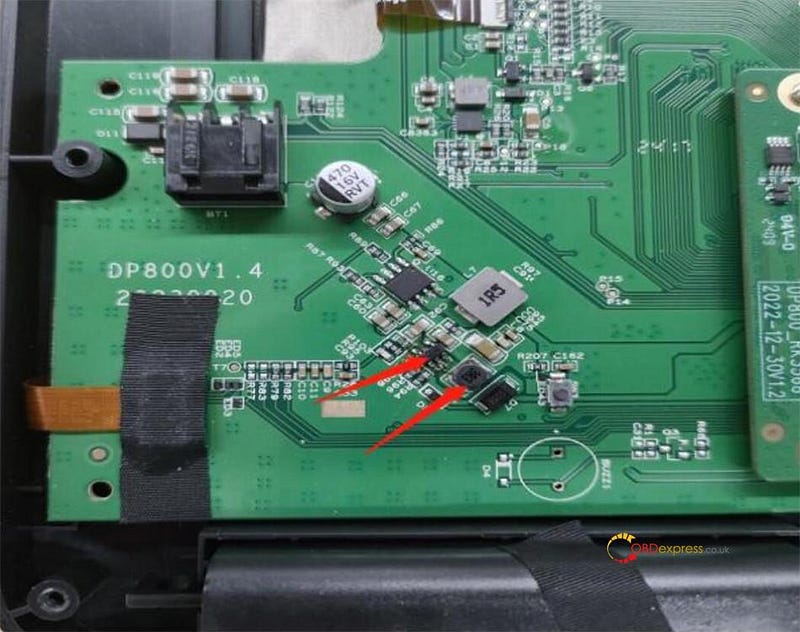
If the OBDSTAR X300 Classic G3 fails to start up normally, you can diagnose the issue by opening the device case and using a multimeter set to the ohms range. Measure the resistance across both ends of capacitor C75.
- If the reading is approximately 0Ω, it indicates a short circuit likely caused by damaged components U17 and L8.
- Replacing U17 and L8 should resolve the startup issue.
Check the detailed operation guide below.

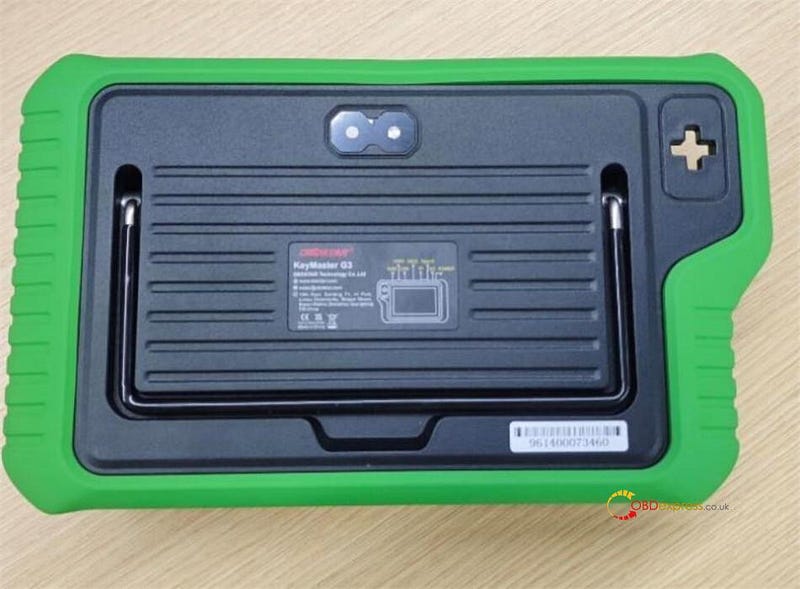
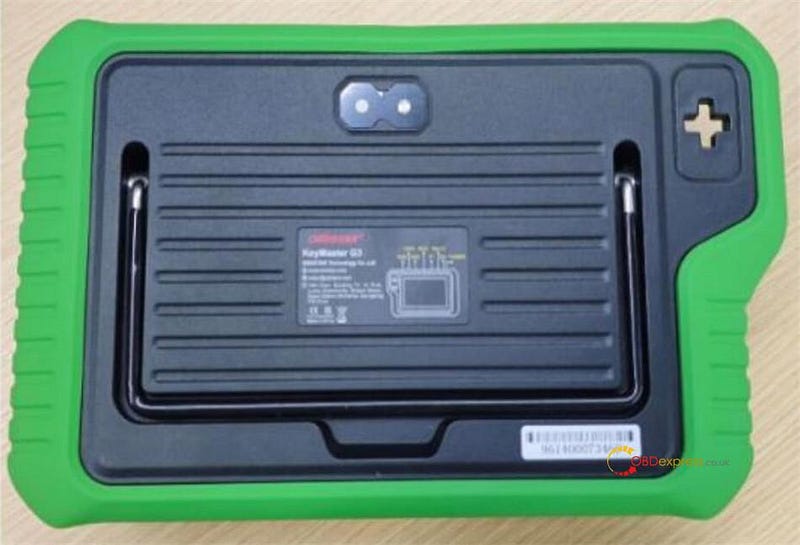
Note: OBDSTAR X300 Classic G3 (yellow) = KeyMaster G3 (green)
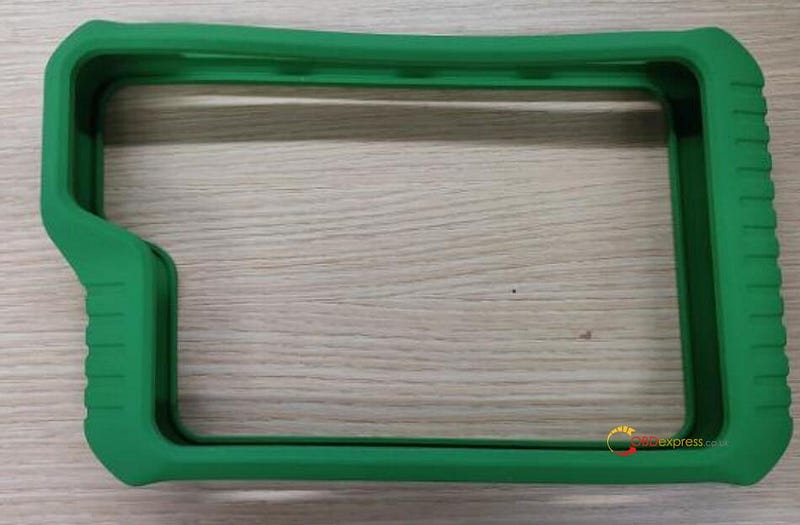
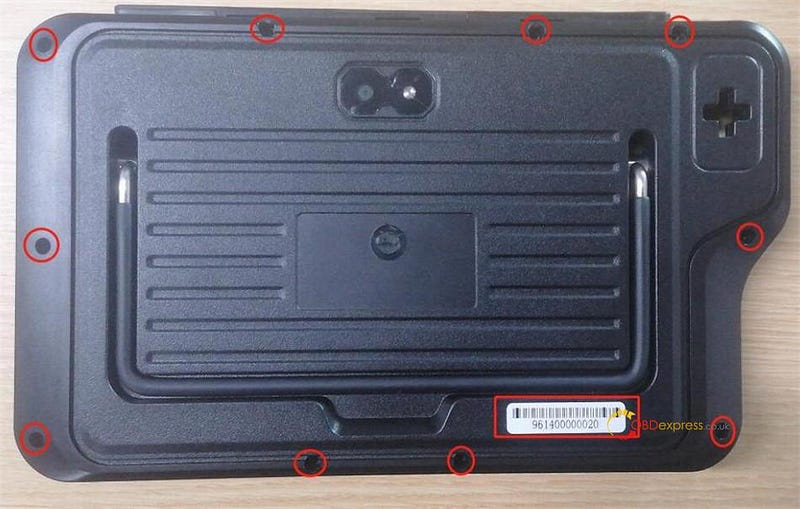
Step 1: Remove Protective Case and Screws
Take off the
rubber protective case. Then, use a screwdriver to loosen and remove the hex
screws securing the X300 Classic G3 device housing.

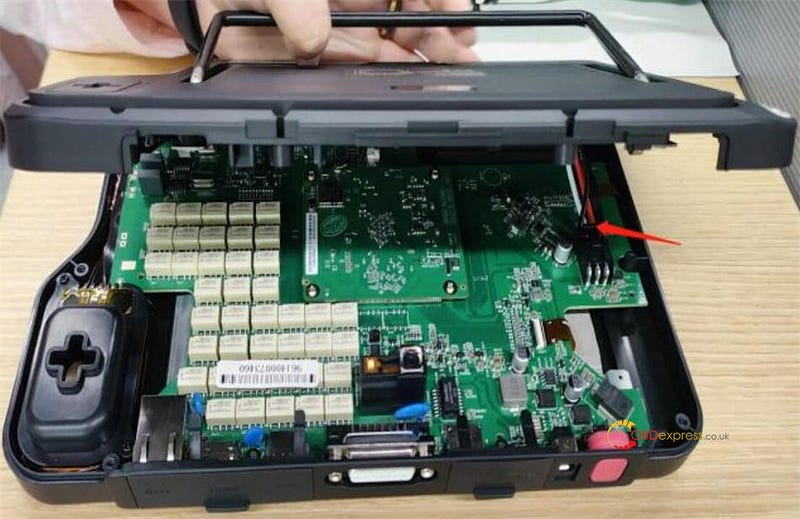
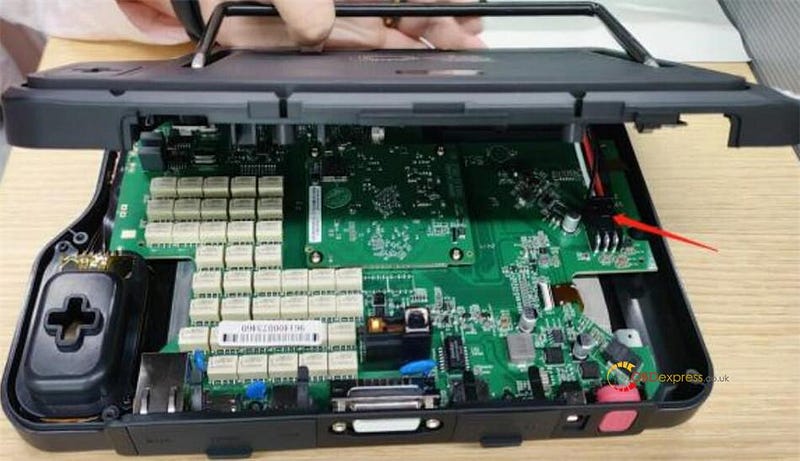
Step 2: Disconnect the Battery
Open the back cover. Press
down on the battery connector clip and gently pull out the battery connector to
safely disconnect power.
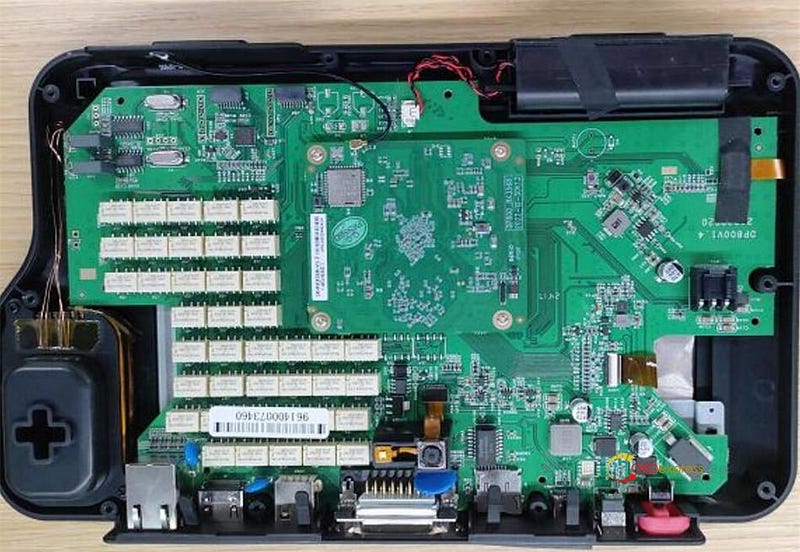
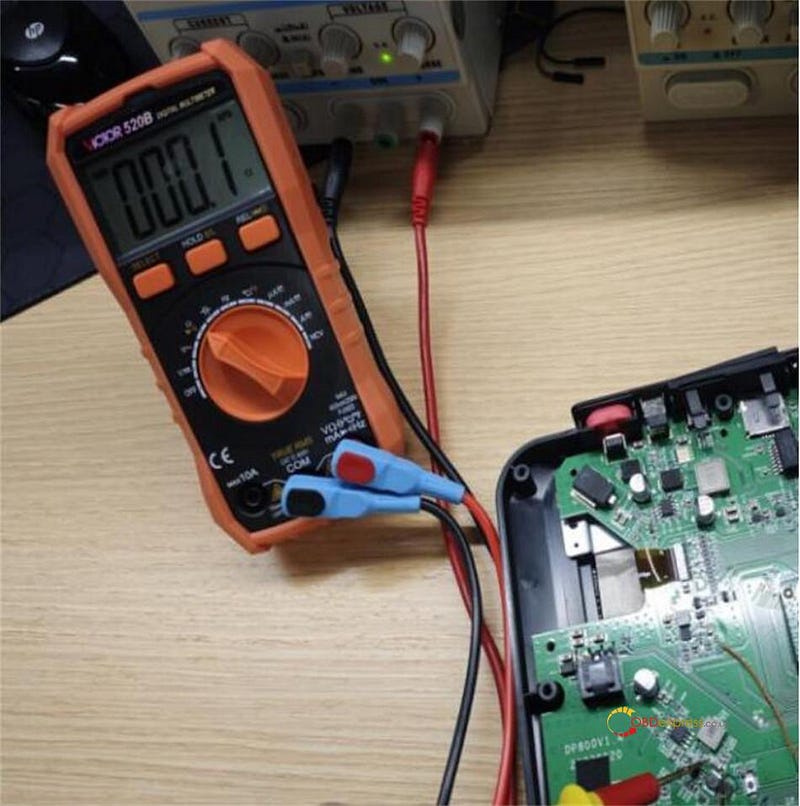
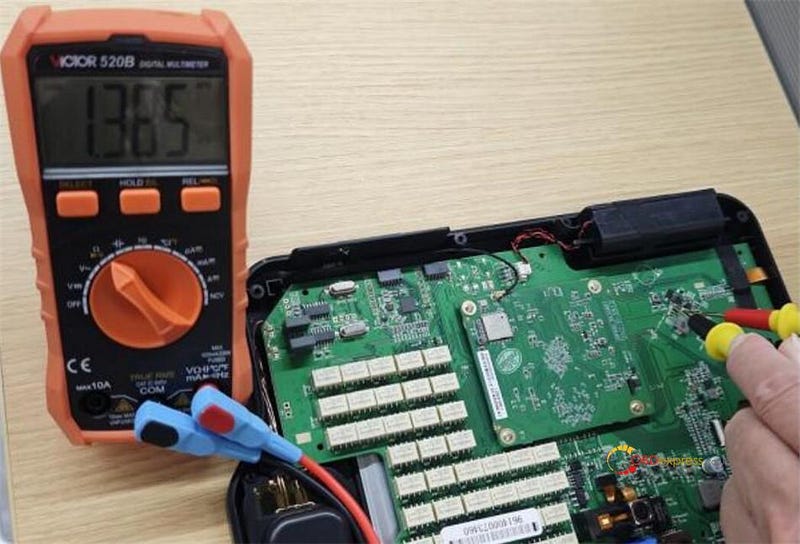
Step 3: Test Capacitor C75
Set a multimeter to the ohms
(Ω) range and measure the resistance across both ends of capacitor
C75.
- If the resistance is close to 0Ω, this indicates a short circuit caused by damaged components U17 and L8.
- Proceed with replacement of U17 and L8.
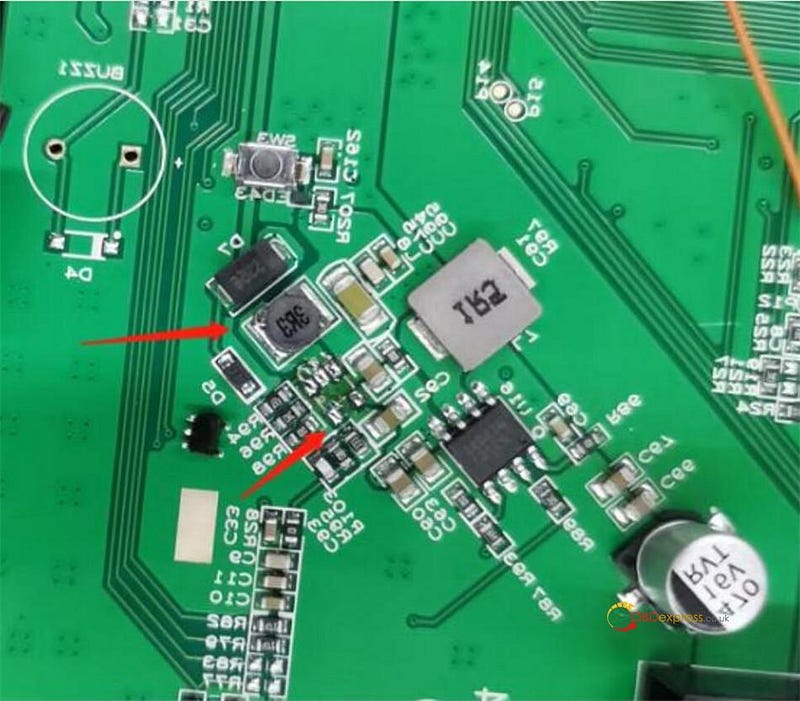
Step 4: Desolder and Replace U17 and L8
Use a soldering
iron or hot air gun set to 350 ± 10°C to remove the faulty
components.
- Important: Replace L8 with a 1uH inductor.
Step 5: Verify the Repair
After replacing the components,
measure the resistance across C75 again.
- A reading of approximately 36KΩ confirms that U17 and L8 have been successfully replaced and the short circuit is resolved.
Step 6: Reconnect and Test
Reconnect the battery
connector. Reassemble the back cover and press the power button to start the
device.
If the OBDSTAR G3 powers on normally, the repair was successful.
Step 7: Final Assembly
Secure the back cover with screws
and reinstall the rubber protective case. The repair is complete.


No comments:
Post a Comment